This route guide follows the released game, not only the demo. Use the checkpoints to find your current objective, then open the linked puzzle for its detailed input. It covers the main progression and ending branch; it is not an exhaustive collectible or weapon-only achievement route.
For collectibles, keep the six-star route beside this walkthrough. The saving plan marks when to preserve pickups, weapon challenges and the ending branch.
Find your current checkpoint
| What you have or see | Continue here |
|---|---|
| Apartment Key, sealed study door | Opening seal and Auritsatio |
| Batteries or remote | TV puzzle |
| Scissors and cardboard pieces | DEVORA poster |
| Bottles, bell or glass pitcher | Bar sound puzzle |
| RCA Cable, Copper Seed or Flowers | Camera puzzle |
| USB cable, film canister or colored candles | The film school |
| Silver Bottle | Moonlight and Purified Water |
| Cold Chisel or film roll | The darkroom |
| Lost inventory after the ritual | Desiderium |
| Fly statue and floor tiles | Desiderium fly path |
| Photographs, Glass Box or Circular Plate | Photographs and the knife |
| Lapis Fictus, Melanosis or Viridis Knife | Knife transformations |
| Aurifer, before killing a Relicta | The final choice |
Route and success checkpoints
| Stage | Confirm before moving on | Next destination |
|---|---|---|
| Third-floor opening apartment | Auritsatio opens the sealed study | Second-floor TV and candle arena |
| Production company | Bathroom Key and Mop Handle collected | Candle arena, then bar |
| USB and first screening | Charged phone code recorded; first theater box open | Plate puzzle and White Candle |
| Film School and lower floor | Black Candle, personal elevator pattern and second canister | Fumus and the red Pentacle Stone |
| Third screening | Purified Water used; Cold Chisel collected | Darkroom and photograph frame |
| Ritual and Desiderium | Belongings recovered and Green Candle used | Altered apartments |
| Photograph route | Two figurines combined with Glass Box; Lapis Fictus obtained | Electricity, mercury and moonlight |
| Finale | Aurifer obtained; clean branch save preserved | Relicta choice and Séptimo Arte |
Floor numbers restart inside the Film School. The production company beside the second-floor apartment elevator is a different location from a classroom on the school's second floor. Later, Desiderium changes rooms and item states again; use both the building and inventory state to locate your checkpoint.
Open the apartment study
Use the Apartment Key to enter Ivan's third-floor apartment, then make Auritsatio from blood, Developing Chemical and sunlight to open the study. The opening seal guide gives the tool locations, item states and exact interaction order.
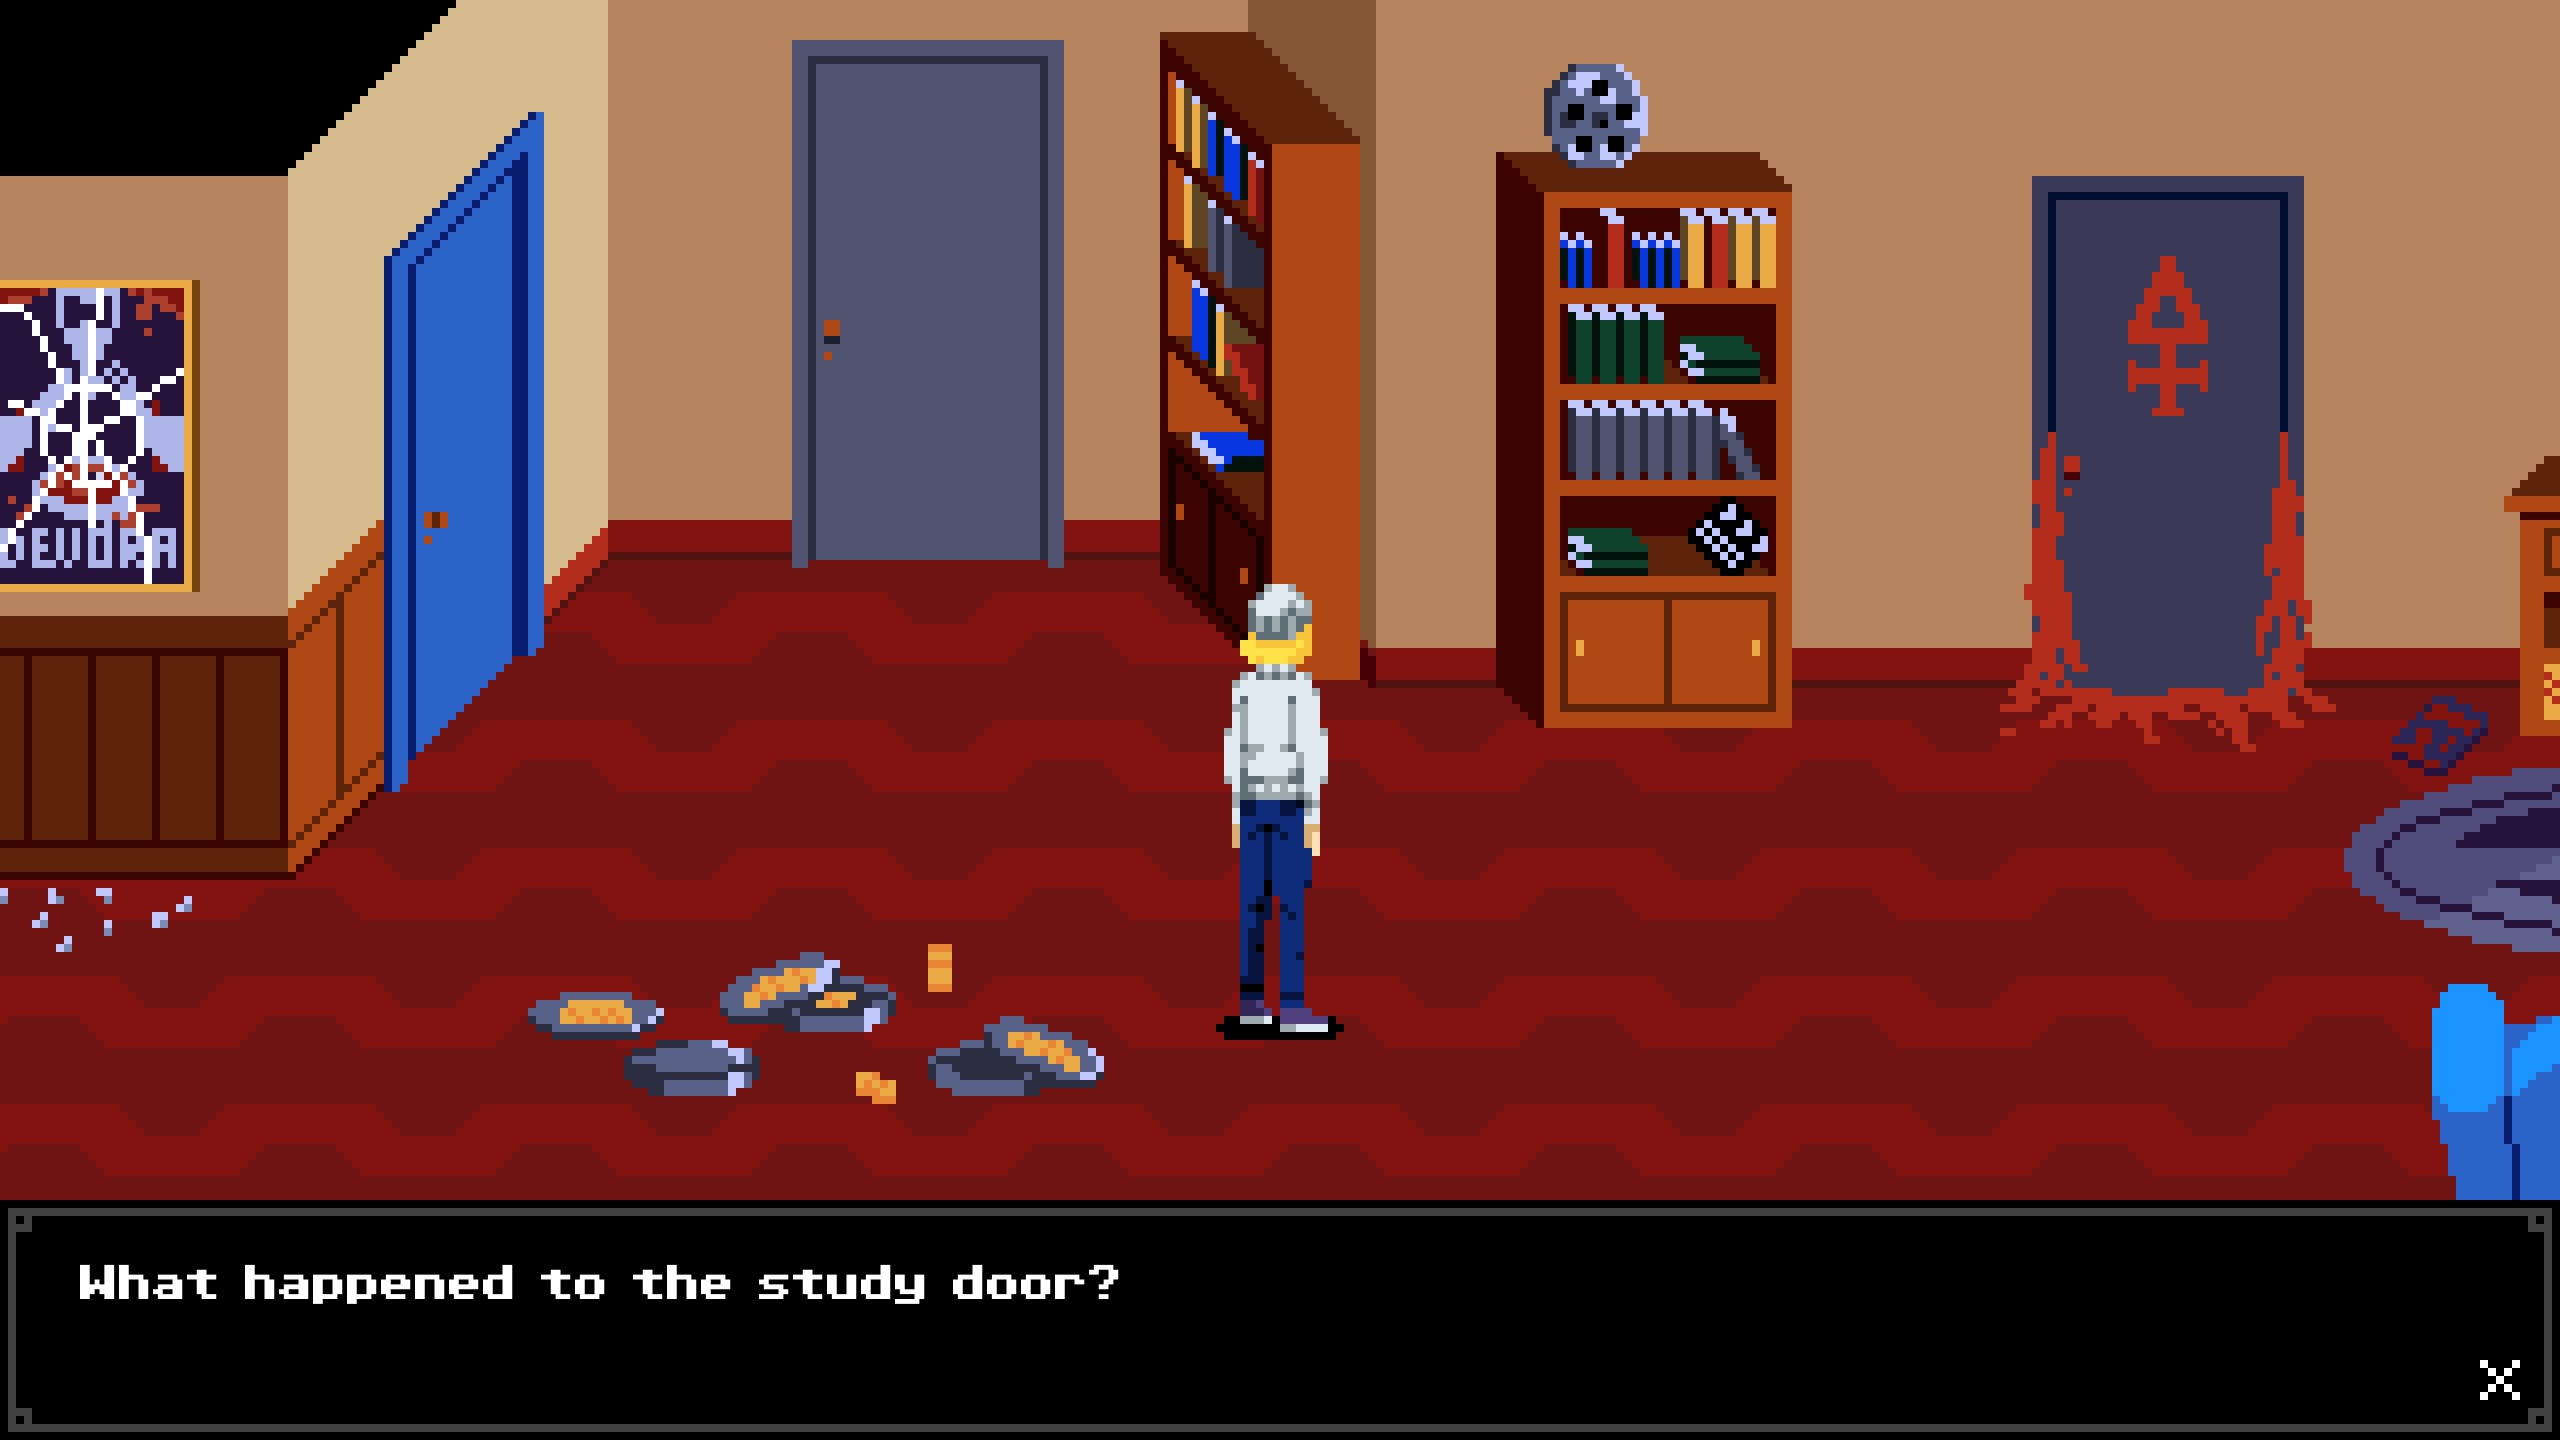
Continue through the first encounter before returning to the elevator. In the second-floor apartment, restore the remote and solve the TV-symbol puzzle. Check the opened bedroom and proceed to the candle area outside its window. Collect the blue Triangular Stone there.
The production company and first candle
Collect the Scissor Blade from the second-floor apartment kitchen and the X-Ray from the shelf below the apartment entrance. Use the blue stone on the blue-symbol door left of the second-floor elevator. At the A.S. door inside, use the blade and X-Ray to retrieve its key. Find the second blade in the director's office and combine the scissors.
Cut the six cardboard pieces, reconstruct the DEVORA poster and burn the finished poster with the Lighter. Use the Bathroom Key, take the Mop Handle and return to the slot beside the window in the candle area. This advances to the first boss encounter and Red Candle progression.
The bar behind the third-floor blue door provides USB Cable. Solve the glass-and-bell sound puzzle using the tones on your own save, then collect the cable for Ivan's phone charger.
Before leaving: take the Red Candle after the candle encounter and light it with the Lighter before using it in the elevator. The USB Cable needs a USB Adapter from the top of the film-set stairs on Floor 1; the cable alone will not charge the phone. Check weapon-restricted achievements before replacing the Wrench with the Pipe.
The film school and three canisters
- Combine the USB Cable and adapter into a charger, use it by Ivan's phone and read the projector-lock code recorded in the Old Book.
- Collect the first DEVORA canister from the second-floor office chest and use it at the projector. The opened theater box provides the marked plate.
- Use the plate and black tape in the dining-room puzzle to obtain the green Square Stone. Open the corresponding third-floor door for the White Candle and access to Floor 0.
- Follow the electrical-room and camera guide for RCA Cable, Copper Seed, Flowers and Copper Key. The key opens the dark TV room.
- Enter the dark TV room, finish activating the sets, record the colors and collect the Black Candle. Use the elevator-color solution to reach Floor minus one.
- Pass the glass barriers and movable blocks to the childhood room, take the second canister, then screen it. The second theater box supplies the Cow Skull for the hooked door and Fumus encounter.
- Take the red Pentacle Stone after Fumus. Follow Sanguis's Silver Key objective and the moonlight purification route to cleanse the third canister. Screen it and take the Cold Chisel from the final theater box.
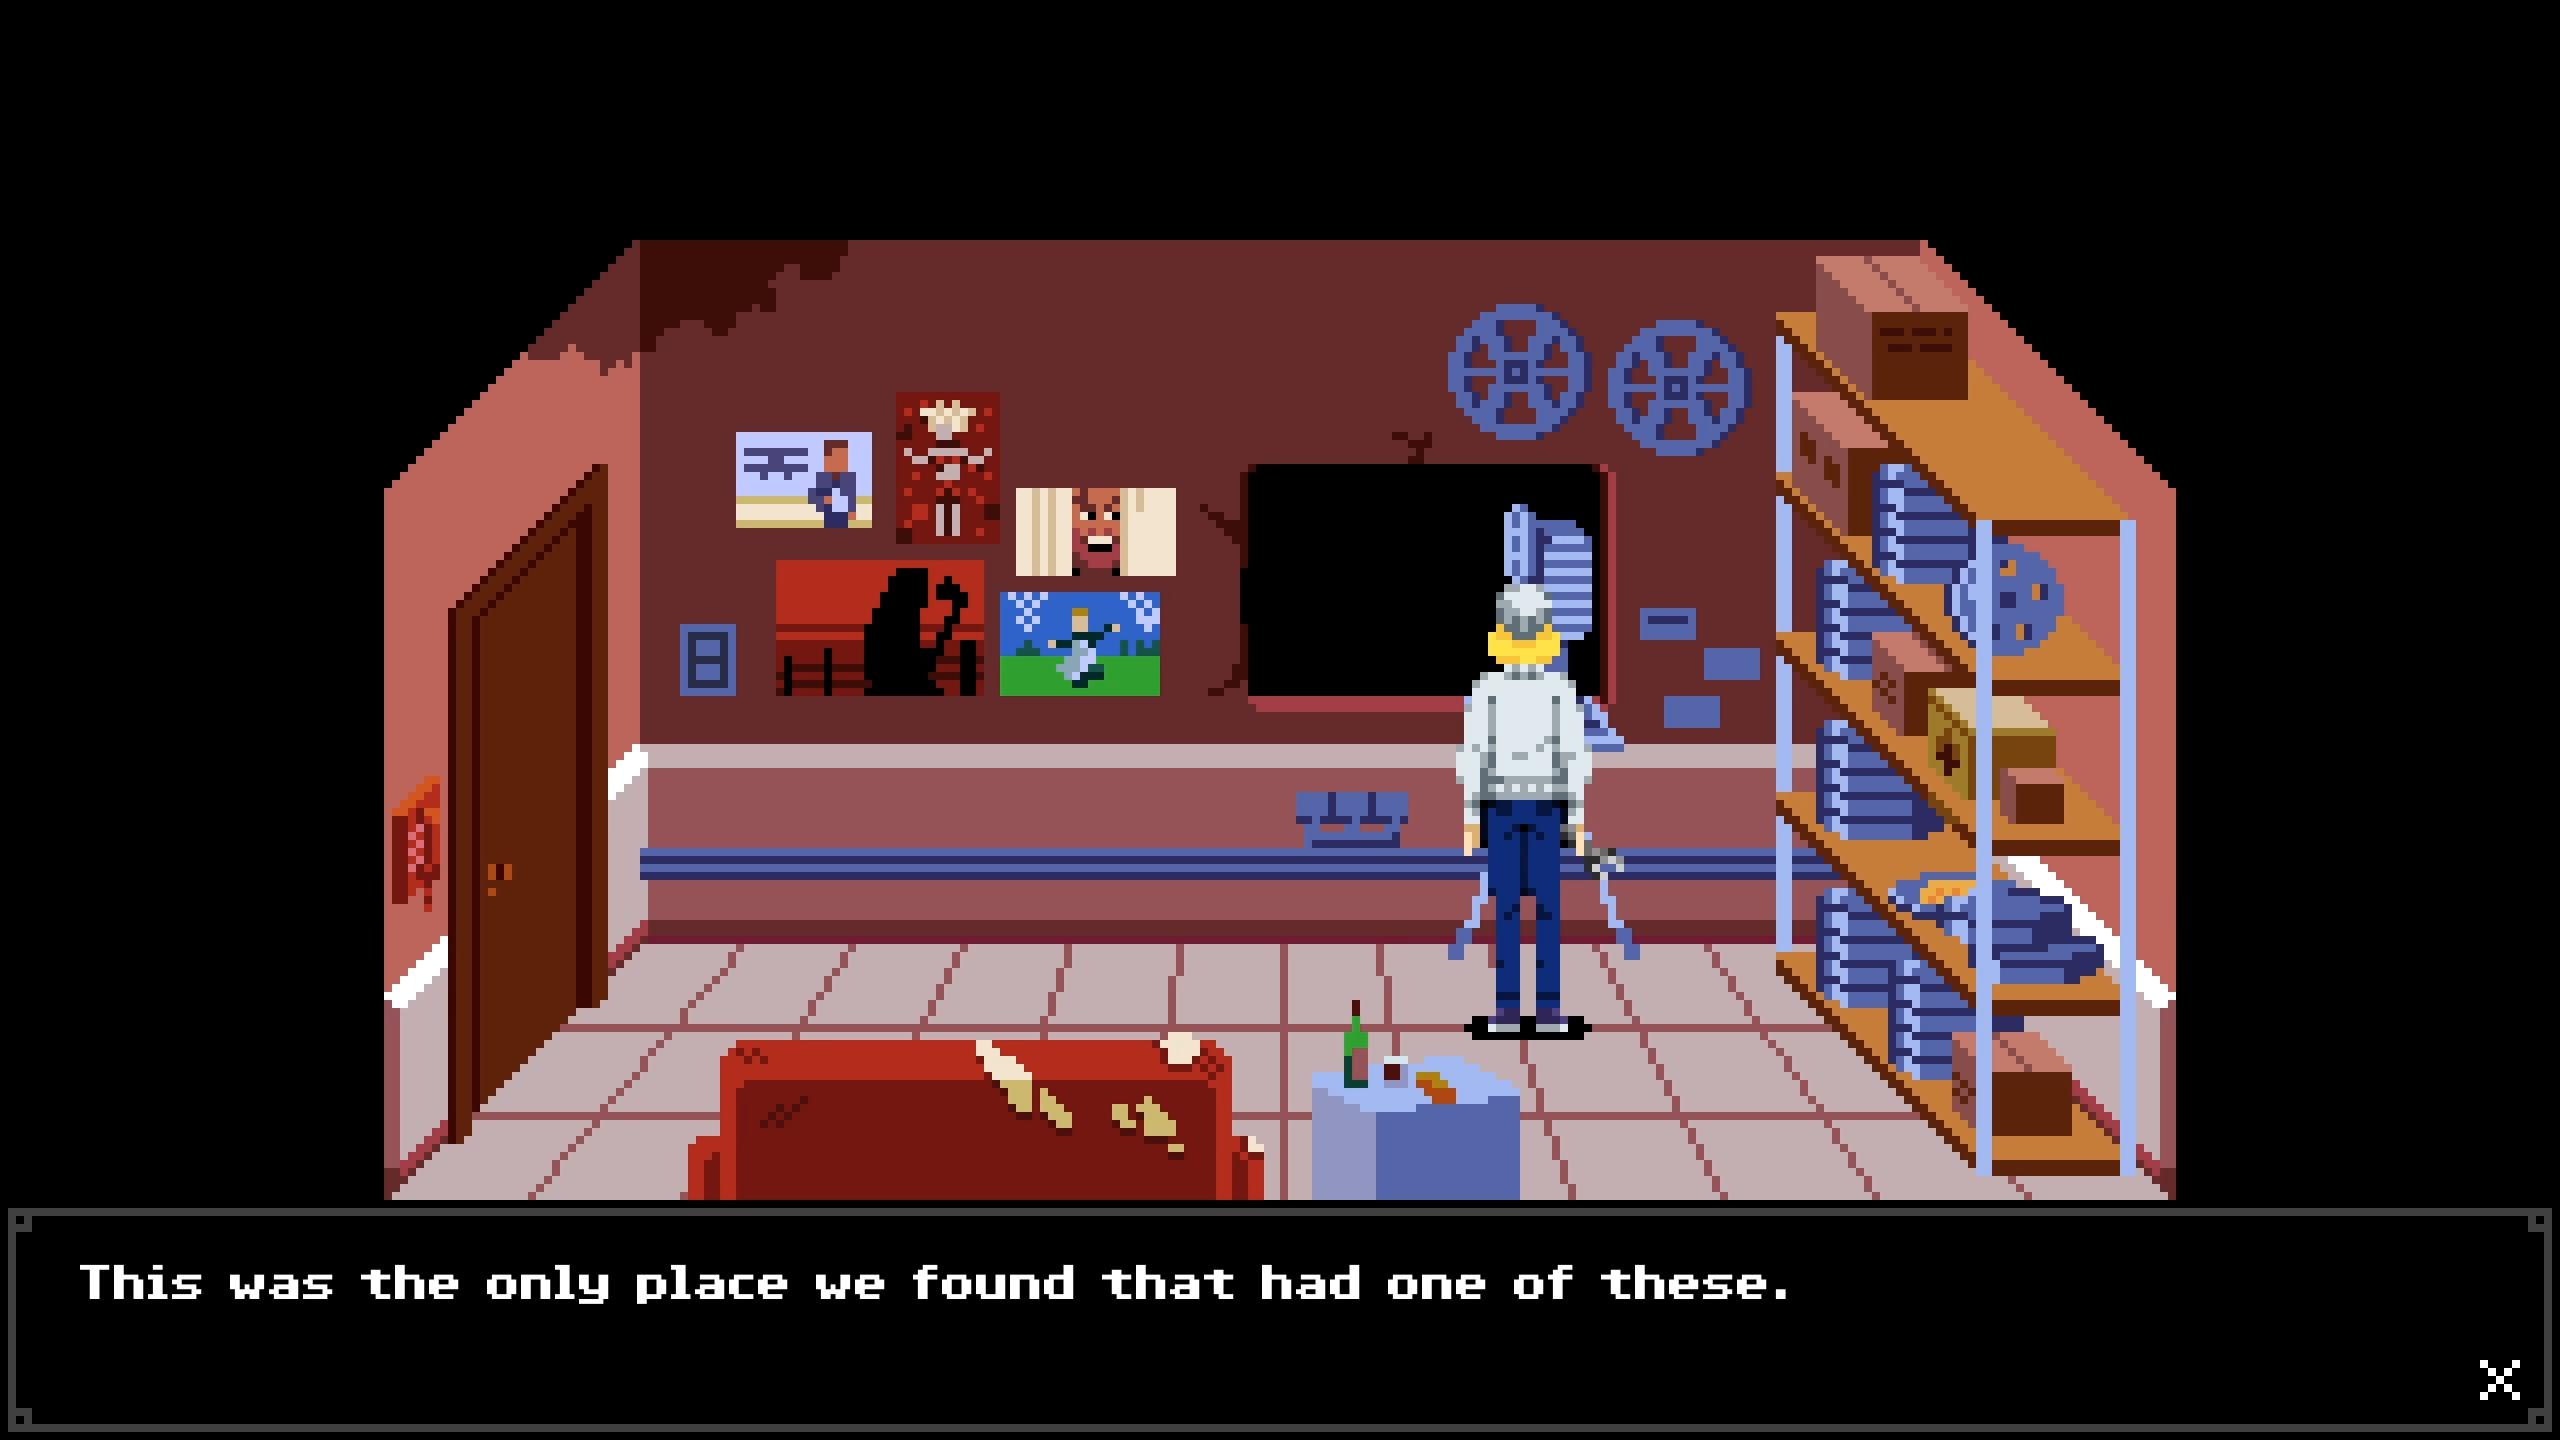
- Stand beside the projector and use the film canister to choose a screening.
Do not spend the Film School save point casually while filling the bottle. Consumed save points stop working. Return to the last completed checkpoint if an item in the next stage is missing.
| Canister | How to obtain it | Theater reward after screening |
|---|---|---|
| First | Chest in the second-floor apartment study | Plate with X |
| Second | Childhood room reached through Floor minus one | Cow Skull |
| Third | Purified Water on the cursed canister in Film History | Cold Chisel |
The canister reward is collected back in the theater, not automatically at the projector. If the next key item is missing, check the corresponding opened box. Before leaving the original-world route for the ritual, review the Copper Star collection sweep and missable achievements.
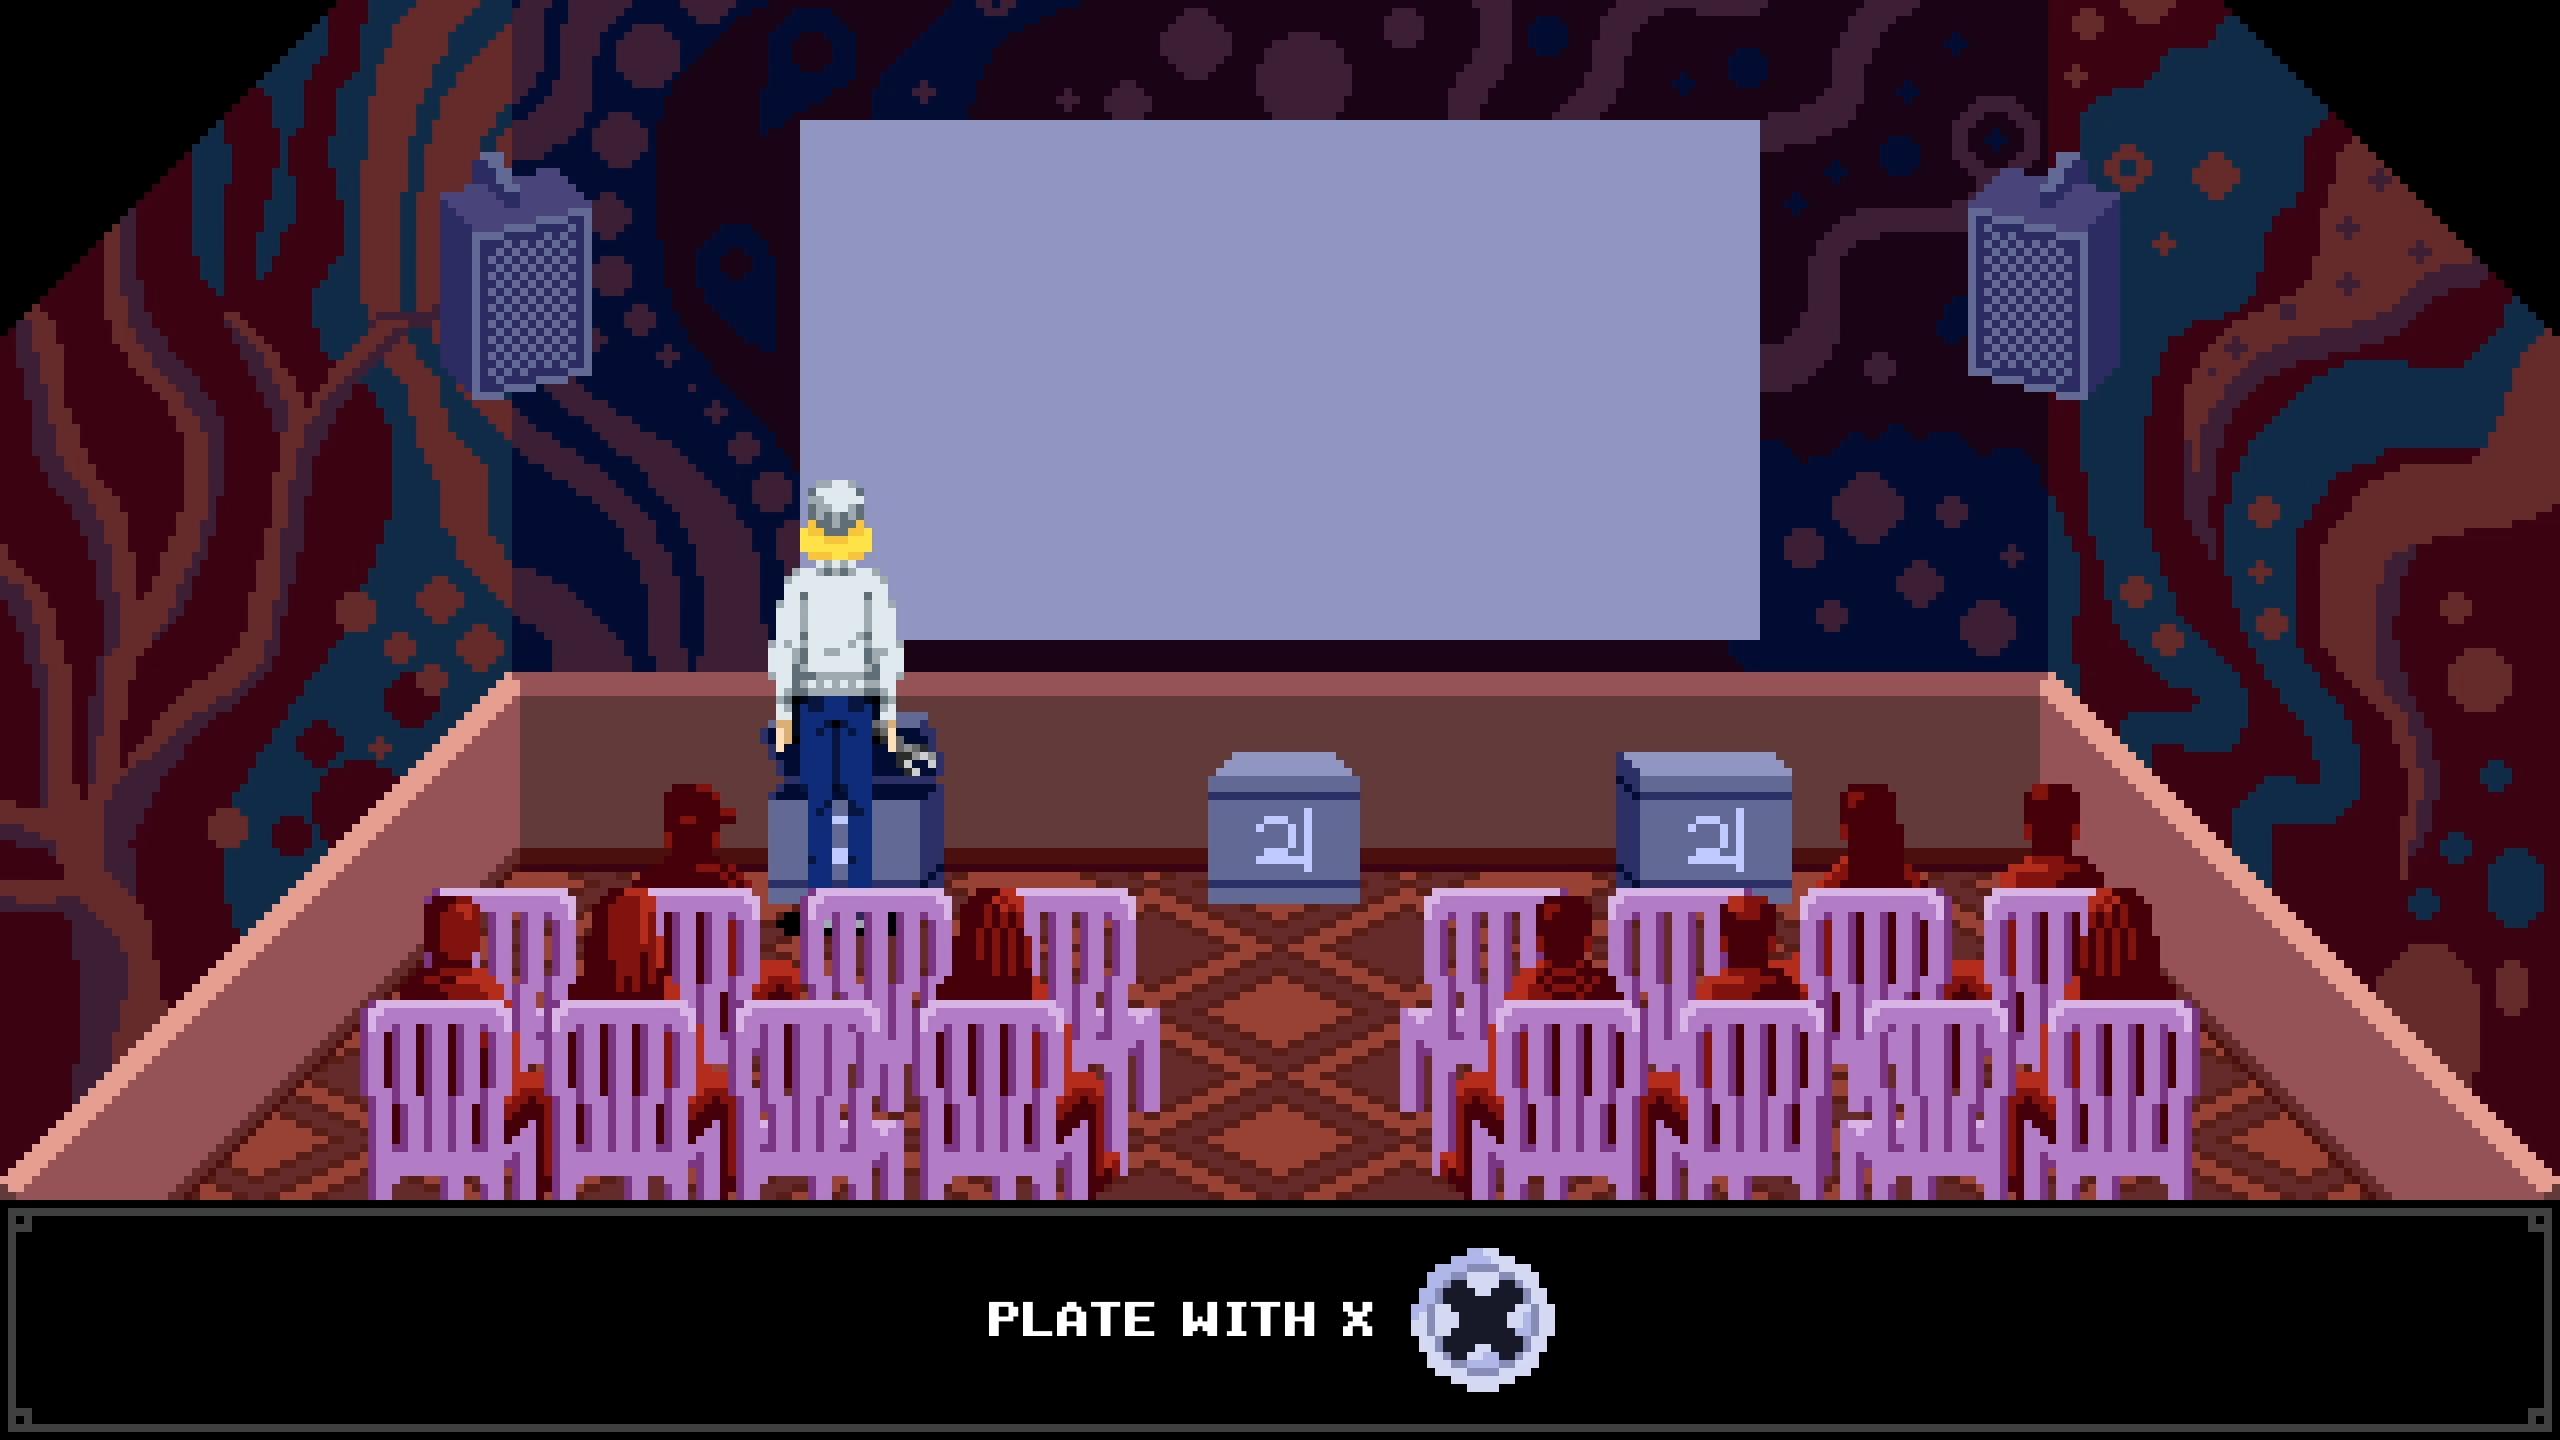
- First screening: Plate with X. This source image shows that pickup.
- Second screening: return for Cow Skull.
- Third screening: return for Cold Chisel.
Develop the photograph and reach the ritual
Use the Cold Chisel at the boarded door above the film-set stairs and strike it to remove the boards. Move the shelf in the upper passage. Use a white bulb at the blood-covered table to obtain the red bulb, then survive the encounter.
In the Film School darkroom, install the red bulb. Bring the Photo Roll from outside the theater and Photo Paper from screenwriting. Process the roll into a Negative, place the Negative and paper at the enlarger, then use the printed picture at the chemical containers. Place the finished Photo in the bedroom frame to obtain the Hexagonal Stone.
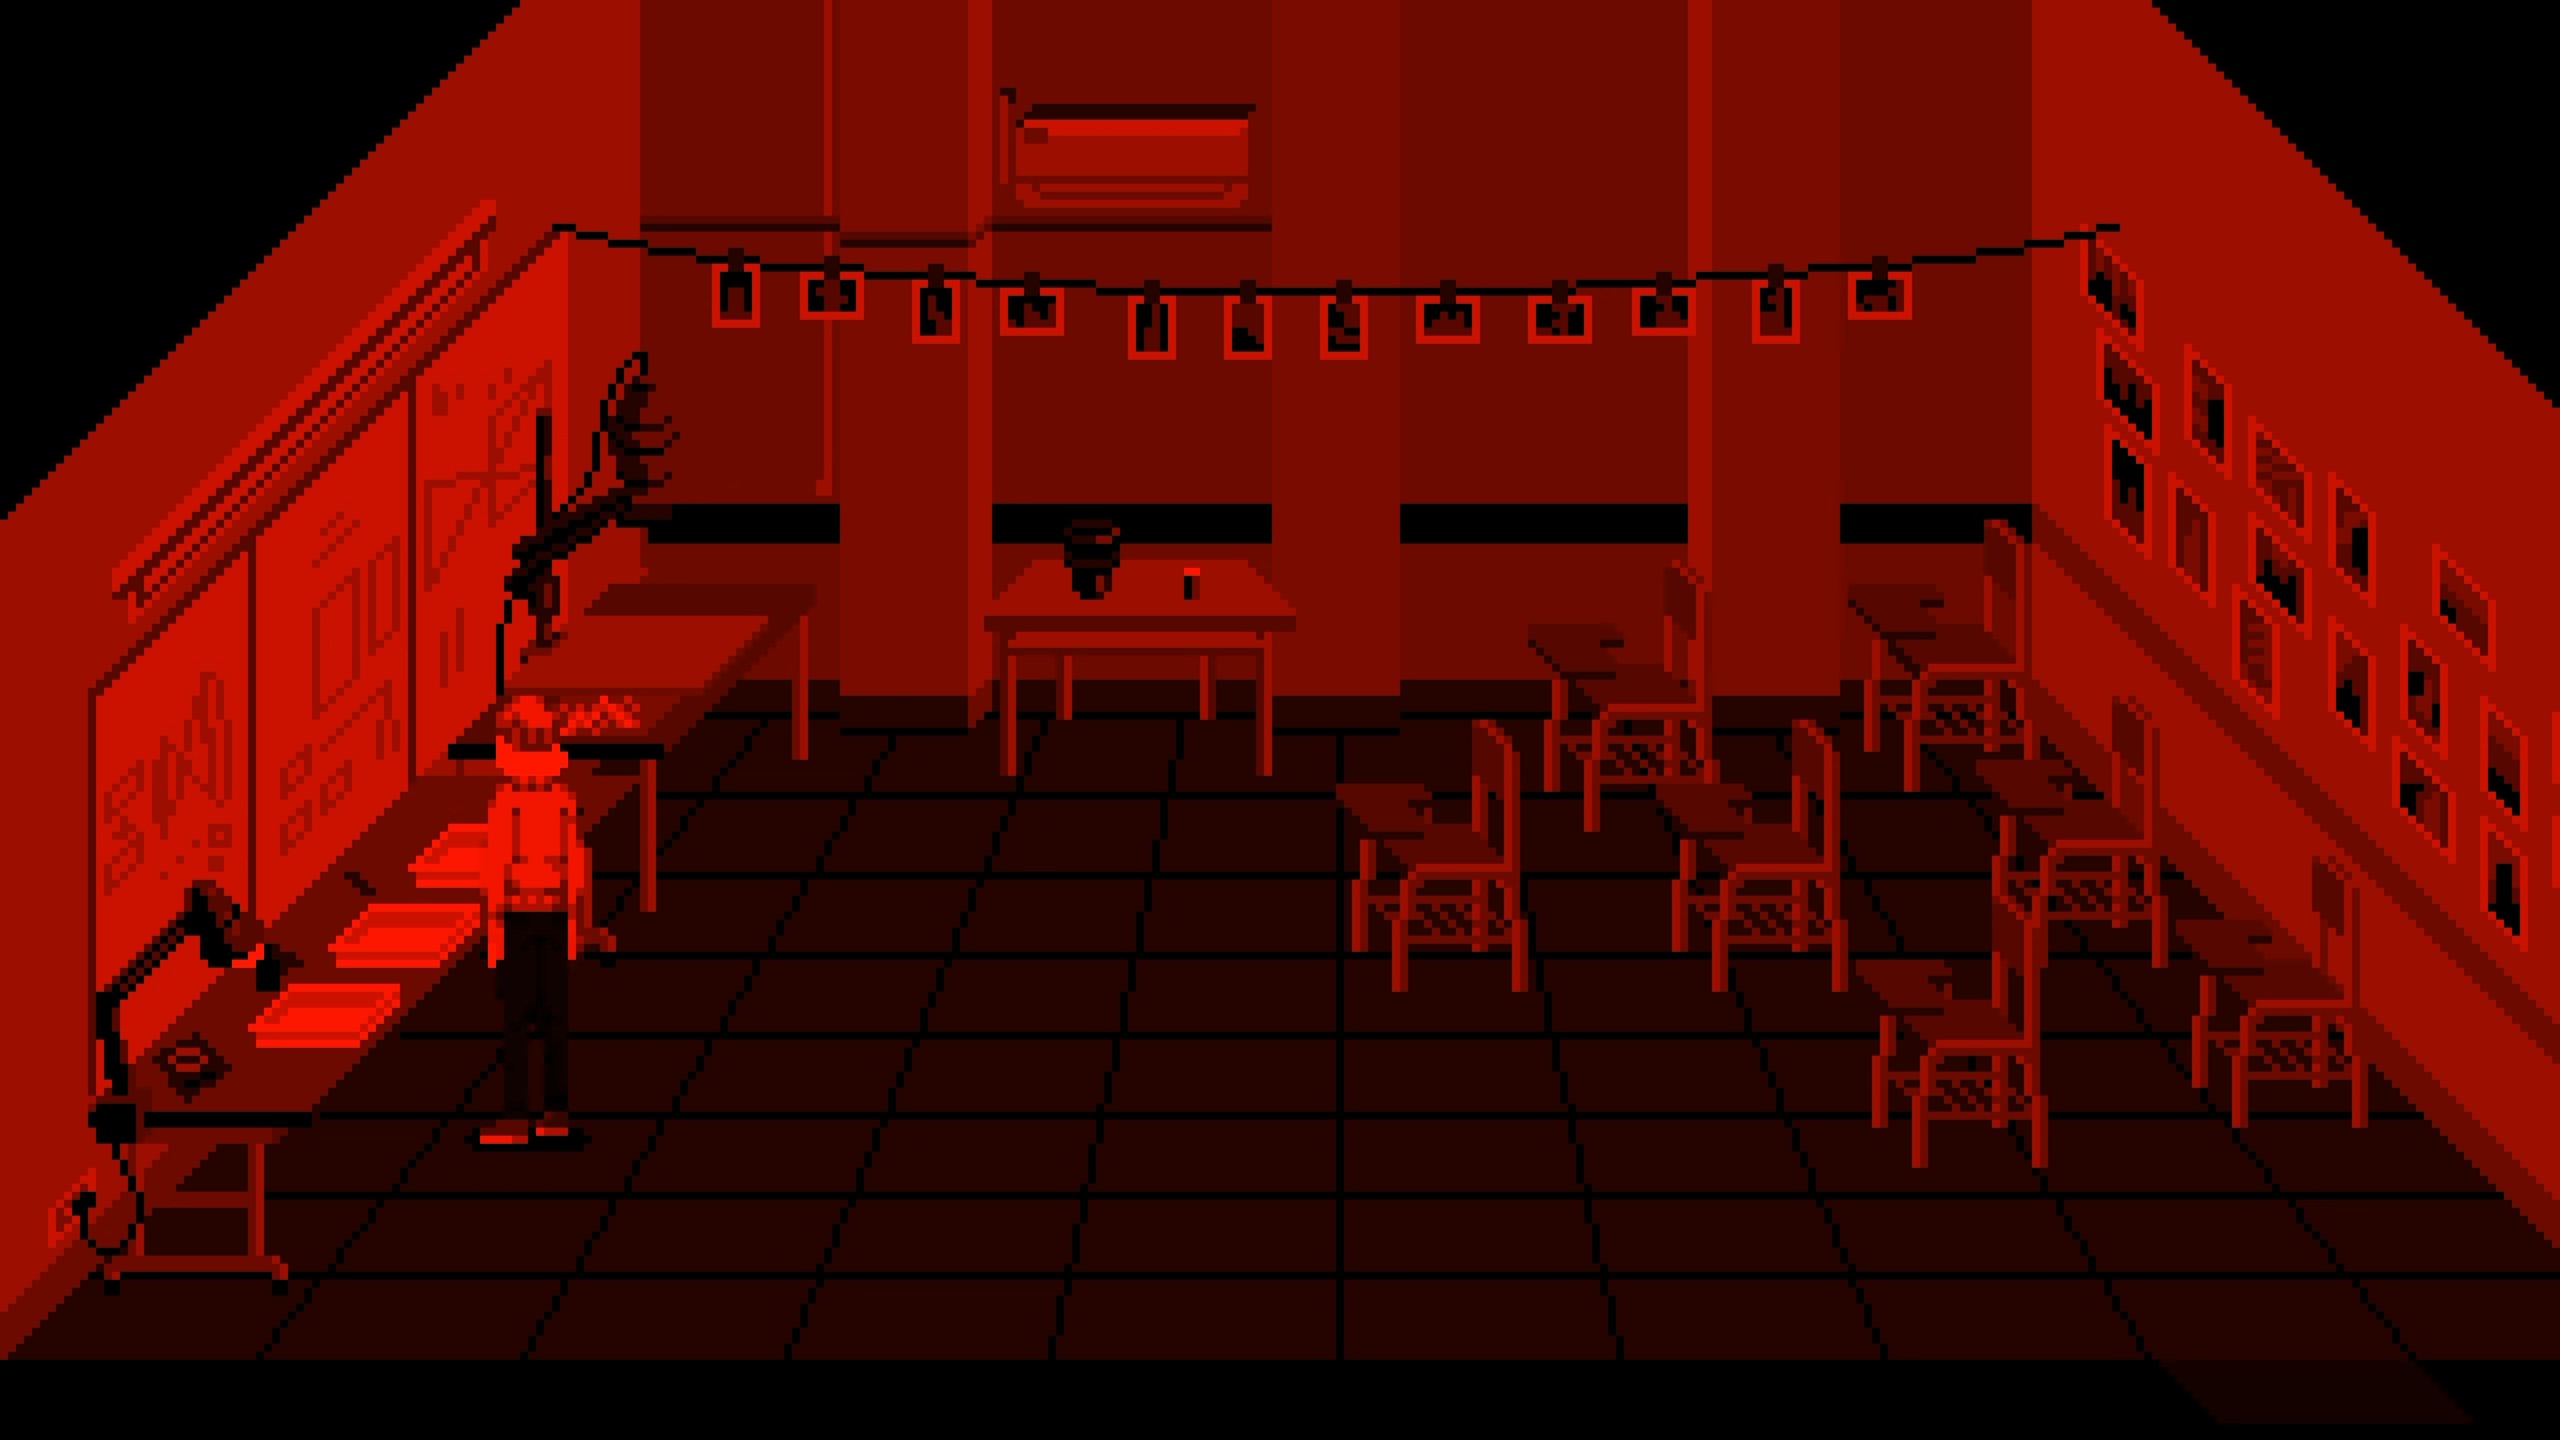
- Lamp: fit the Red Lightbulb before developing.
- Chemical trays: prepare with Chemicals and finish the Printed Photo here.
- Northern table: Photo Roll becomes Negative.
- Enlarger: load Negative, then use Photo Paper.
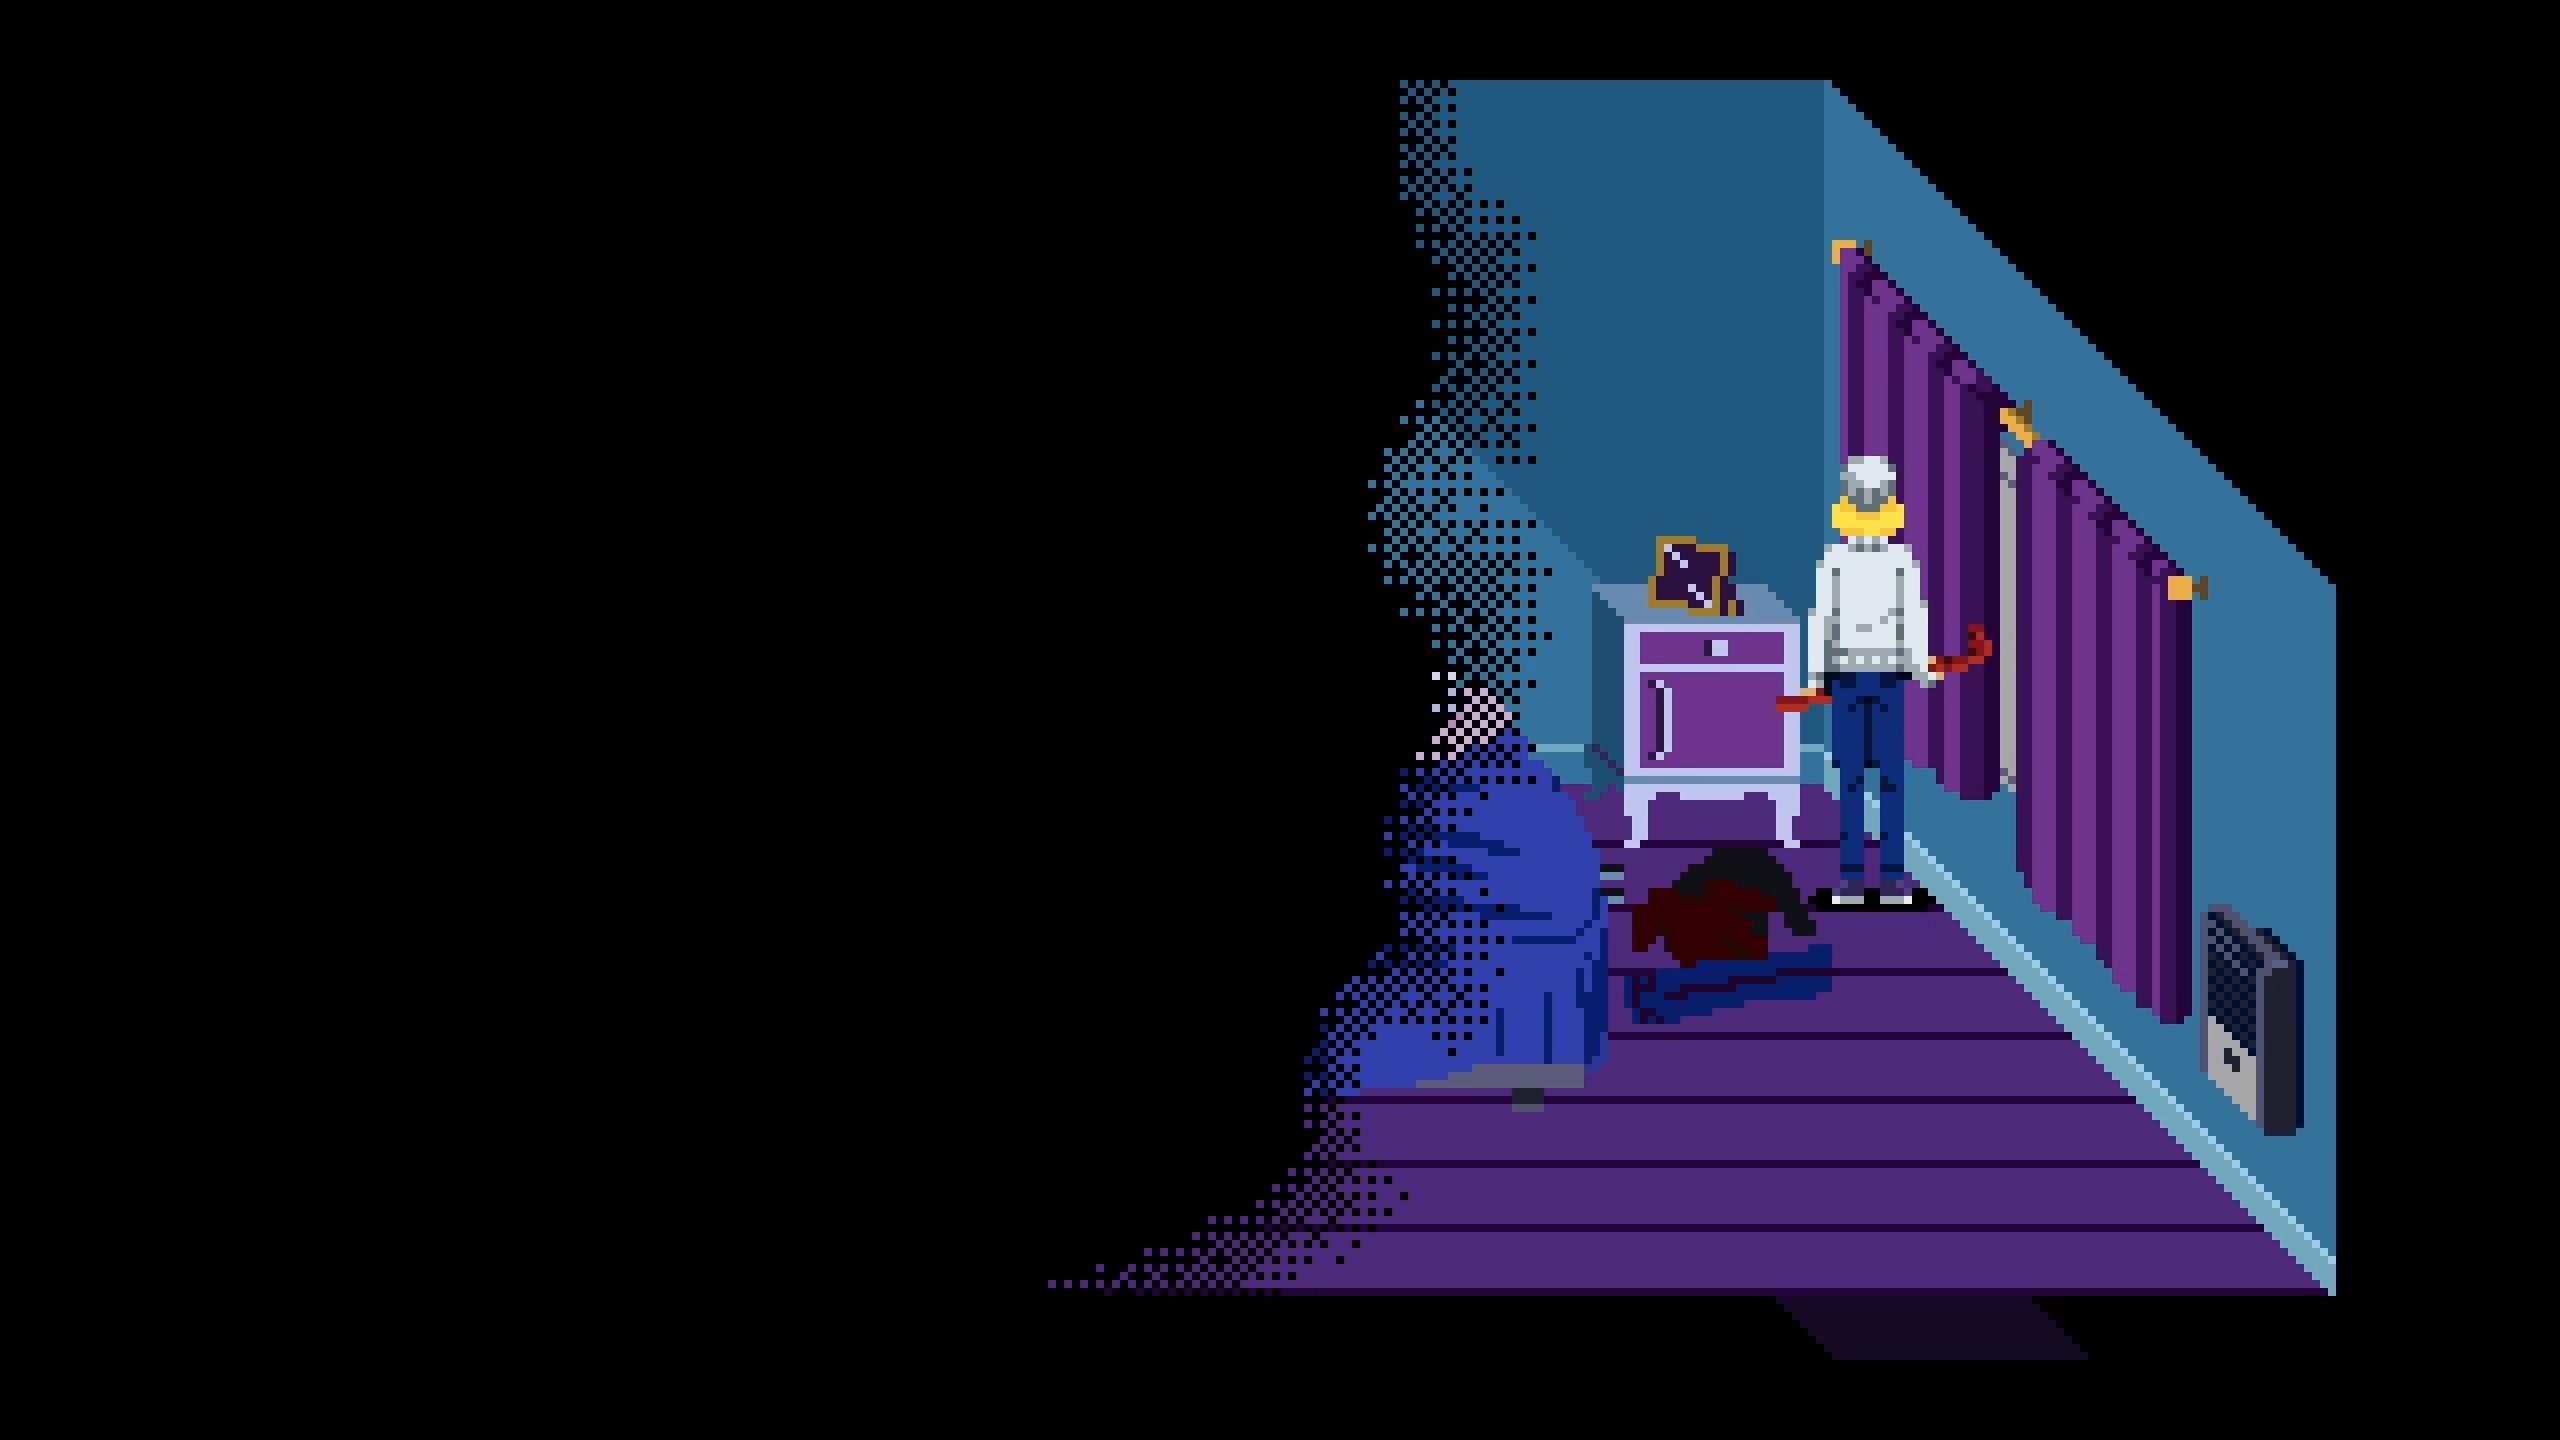
- Use the finished Photo at this frame, then inspect the drawer for Hexagonal Stone.
Use the stone on the upper Film School door. Preserve the nearby save before Vitria’s mirror encounter. Afterward, continue with Sanguis, the Iron Key and the ritual. During the subsequent Sanguis chase, use the creature's lunge to clear breakable mannequins and time the final blade trap to escape. The route then enters Desiderium.
Success and next step: the developed Photo must produce the Hexagonal Stone from the bedroom frame. A Negative or Printed Photo is unfinished. Use the red-bulb workstation sequence if you are stuck before this point. Save before the ritual transition; afterward, start at the changed-school checkpoint below rather than applying the original camera solution again.
Recover your route in Desiderium
The altered school requires rebuilding your access rather than retracing the earlier world unchanged. Turn on the TVs for the blue cable, retrieve the Black Bulb and use it in the darkroom to change the world's colors. The cable becomes yellow; follow the altered-school camera section to climb the rope and recover Julia's belongings.
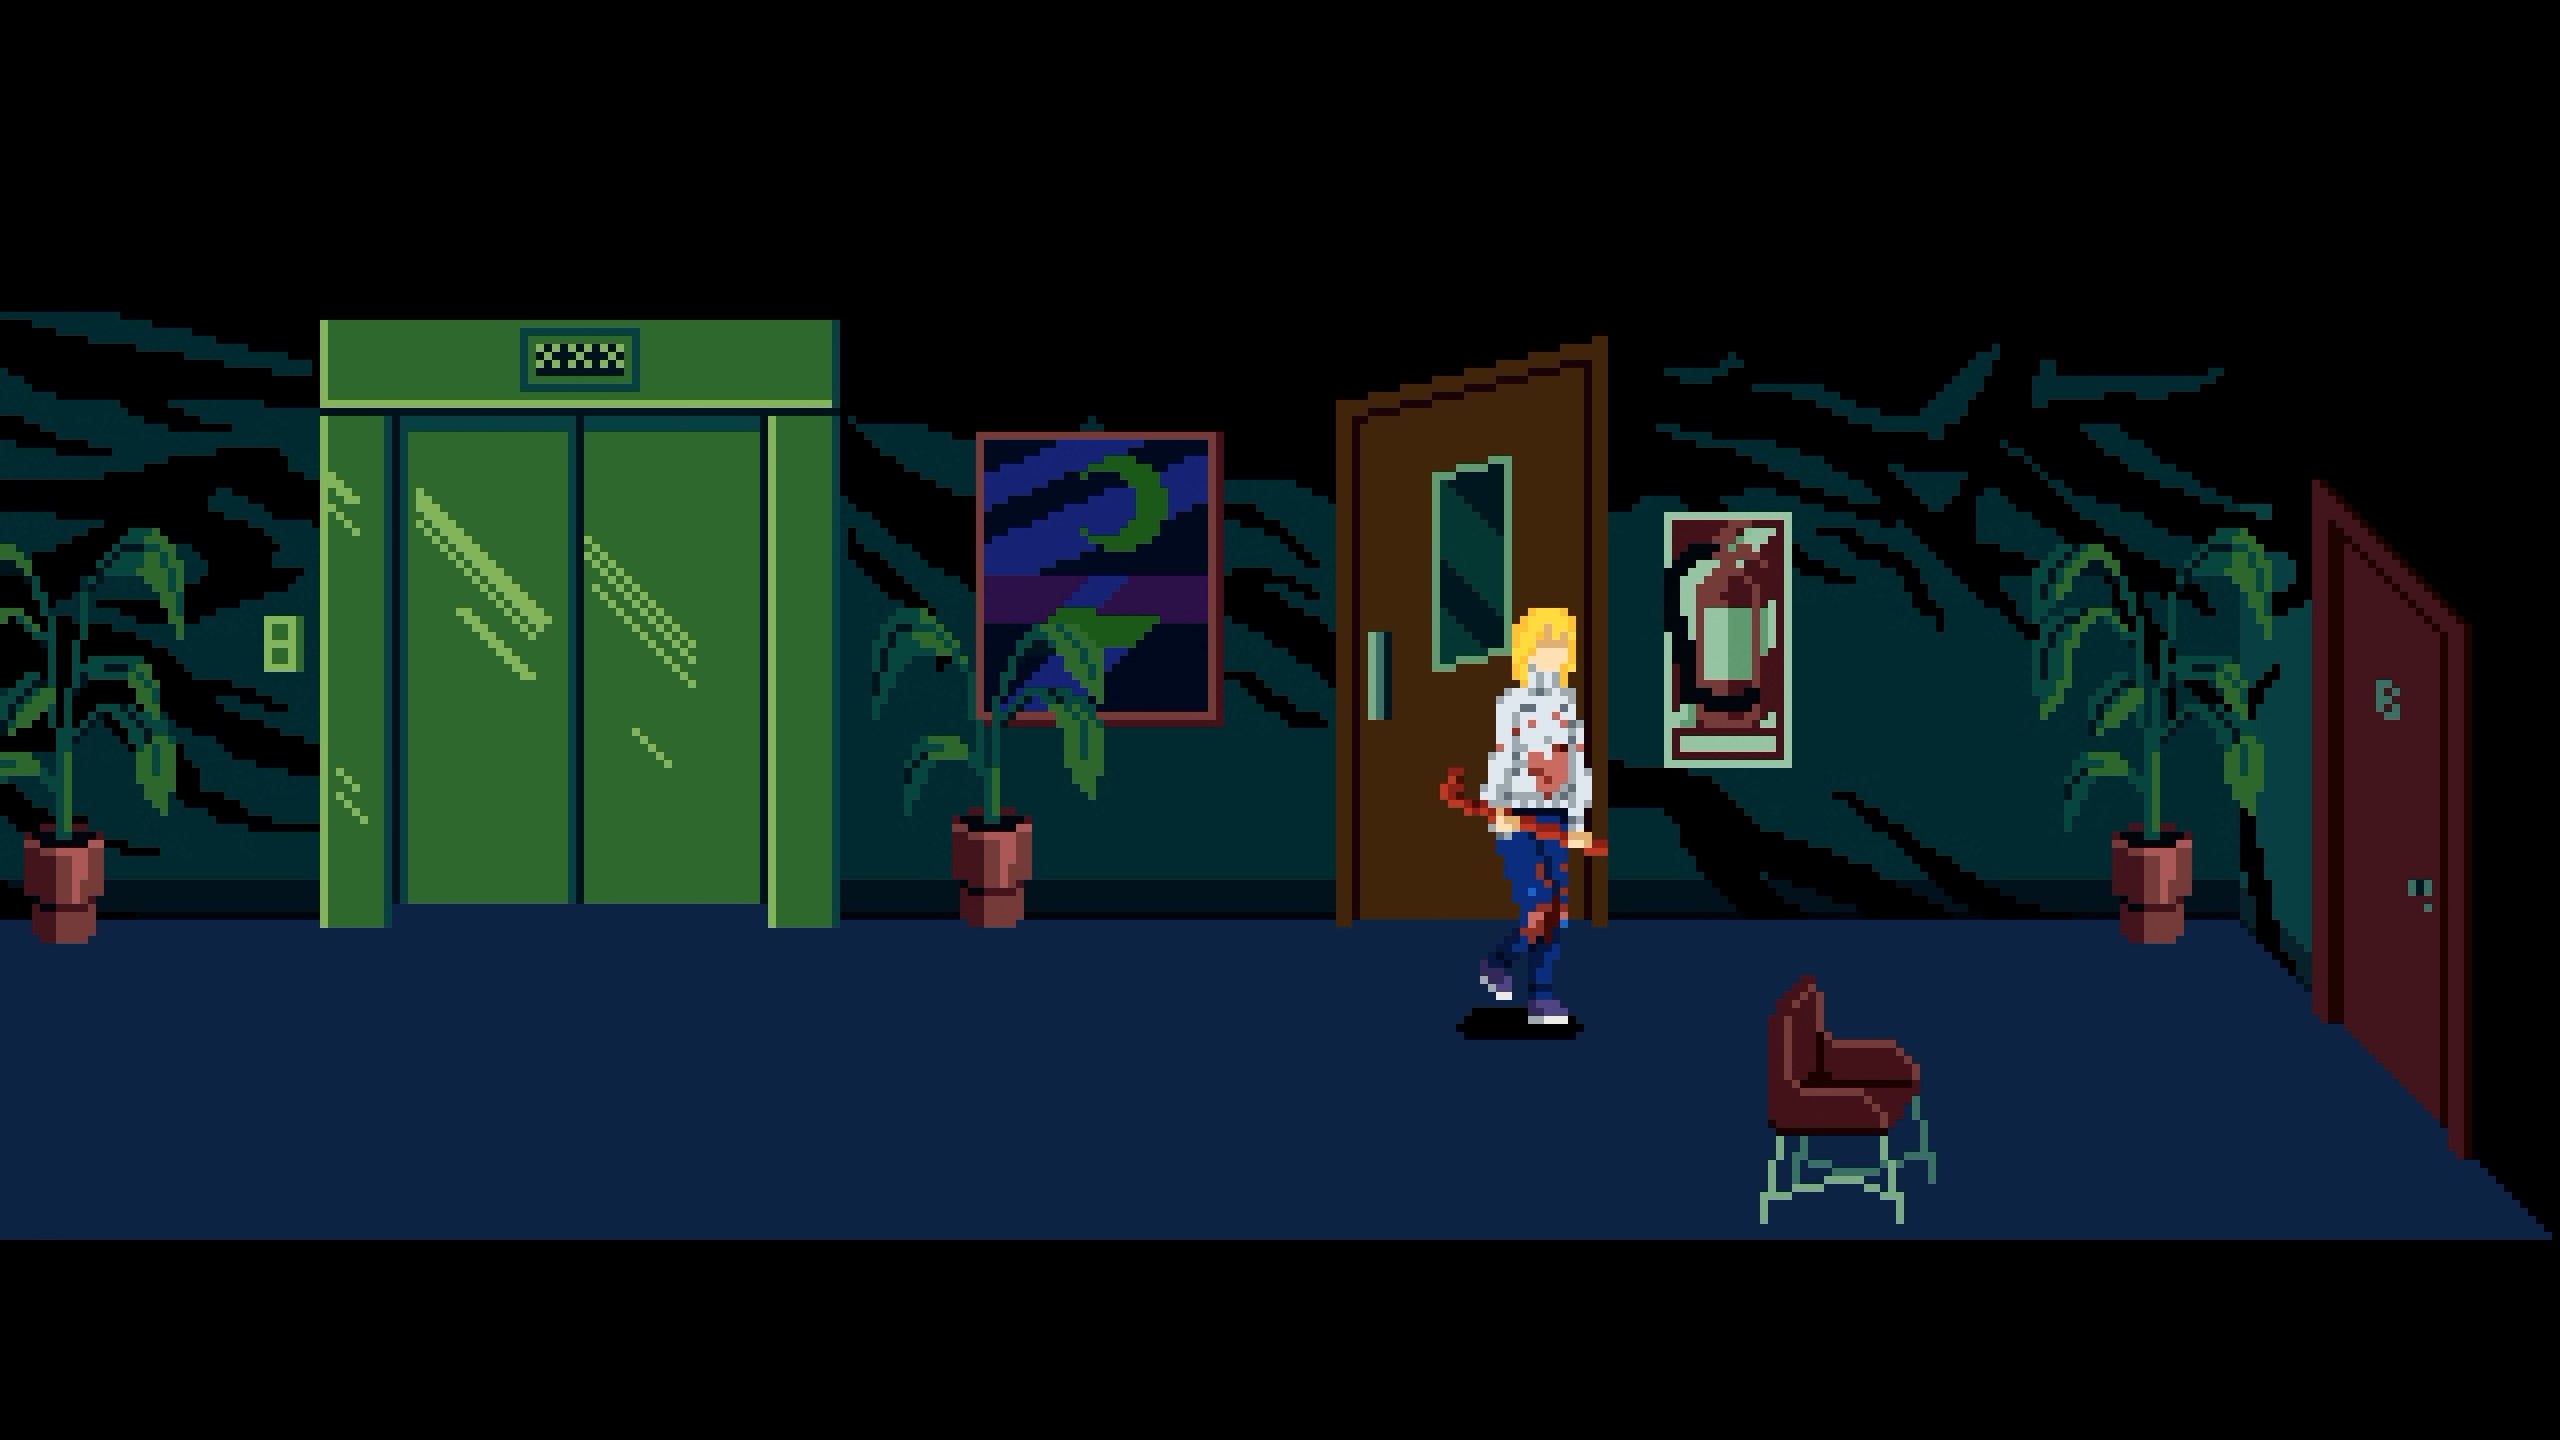
Purify the Apartment Key at the water pool and return to the changed statue scene for the Red Candle. Clear the stairway seal with the lit candle.
Complete the two-room fly floor puzzle: record your own first-room path, repeat it in the hall and break both transformed statues. Take Lead Fly from the theater to open the marked hallway door.
Continue through the statue-defense rooms until you obtain the Tin Key. Use it to leave through the upside-down door and to open the theater chest containing the Green Candle. Light that candle at the upper stairway barrier to reach the apartments again.
Before moving upstairs: check for the Green Candle, not only the Tin Key. During statue defense, the official guide notes that breaking a glowing studio light clears the enemies currently on screen. The boss reference covers the surrounding encounters.
The photographs and Lapis Fictus Knife
- In the second-floor apartment, turn the bathroom tap on. Collect the Photographs from the study's clothes rack and the Glass Box from the bedroom.
- Break the leaking stairway wall and move through the bathroom curtains to reach the other side of the kitchen and its oven.
- In the third-floor study, collect the Glass Vase. Combine the blood-filled vase with the film canister, then take it to the oven and use the Lighter. Collect the Circular Plate afterward.
- Solve the third-floor photograph-and-poem wall. Return to the second-floor study for Julia's Figurine and use the Circular Plate on its chest to obtain the VHS Tape.
- Use the tape at the third-floor TV. Watch the screen to locate the otherwise invisible enemies, finish the encounter and collect Ivan's Figurine. Combine the two figurines with the Glass Box to make the Memento.
- Bring the Memento to the statue with the red chest opening in the production studio. Use it and break the transformed statue. Expose the vase mixture to the stage light nearby to make Auritsatio.
- Use this new Auritsatio on the second-floor Ivan statue to obtain the Lapis Fictus Knife. The Old Book describes its next transformations.
Check the object names: Photographs belong to the poem wall, while the Glass Box needs both figurines. The Circular Plate belongs to the chest. If you only solved the poems, finish the oven sequence before expecting the chest to open.
Forge the knife and choose the finale
| Knife you hold | Where to use it | Required result |
|---|---|---|
| Lapis Fictus | Fuse box in the second-floor kitchen, via the bathroom passage | Melanosis; power goes out |
| Melanosis | Mercury puddle after descending the elevator shaft and escaping the ghosts | Viridis; collect the Lead Key from the TV after inspecting the room's hole |
| Viridis | Marked hotel door reached through the Lead Key door in the production-studio lobby | Aurifer |
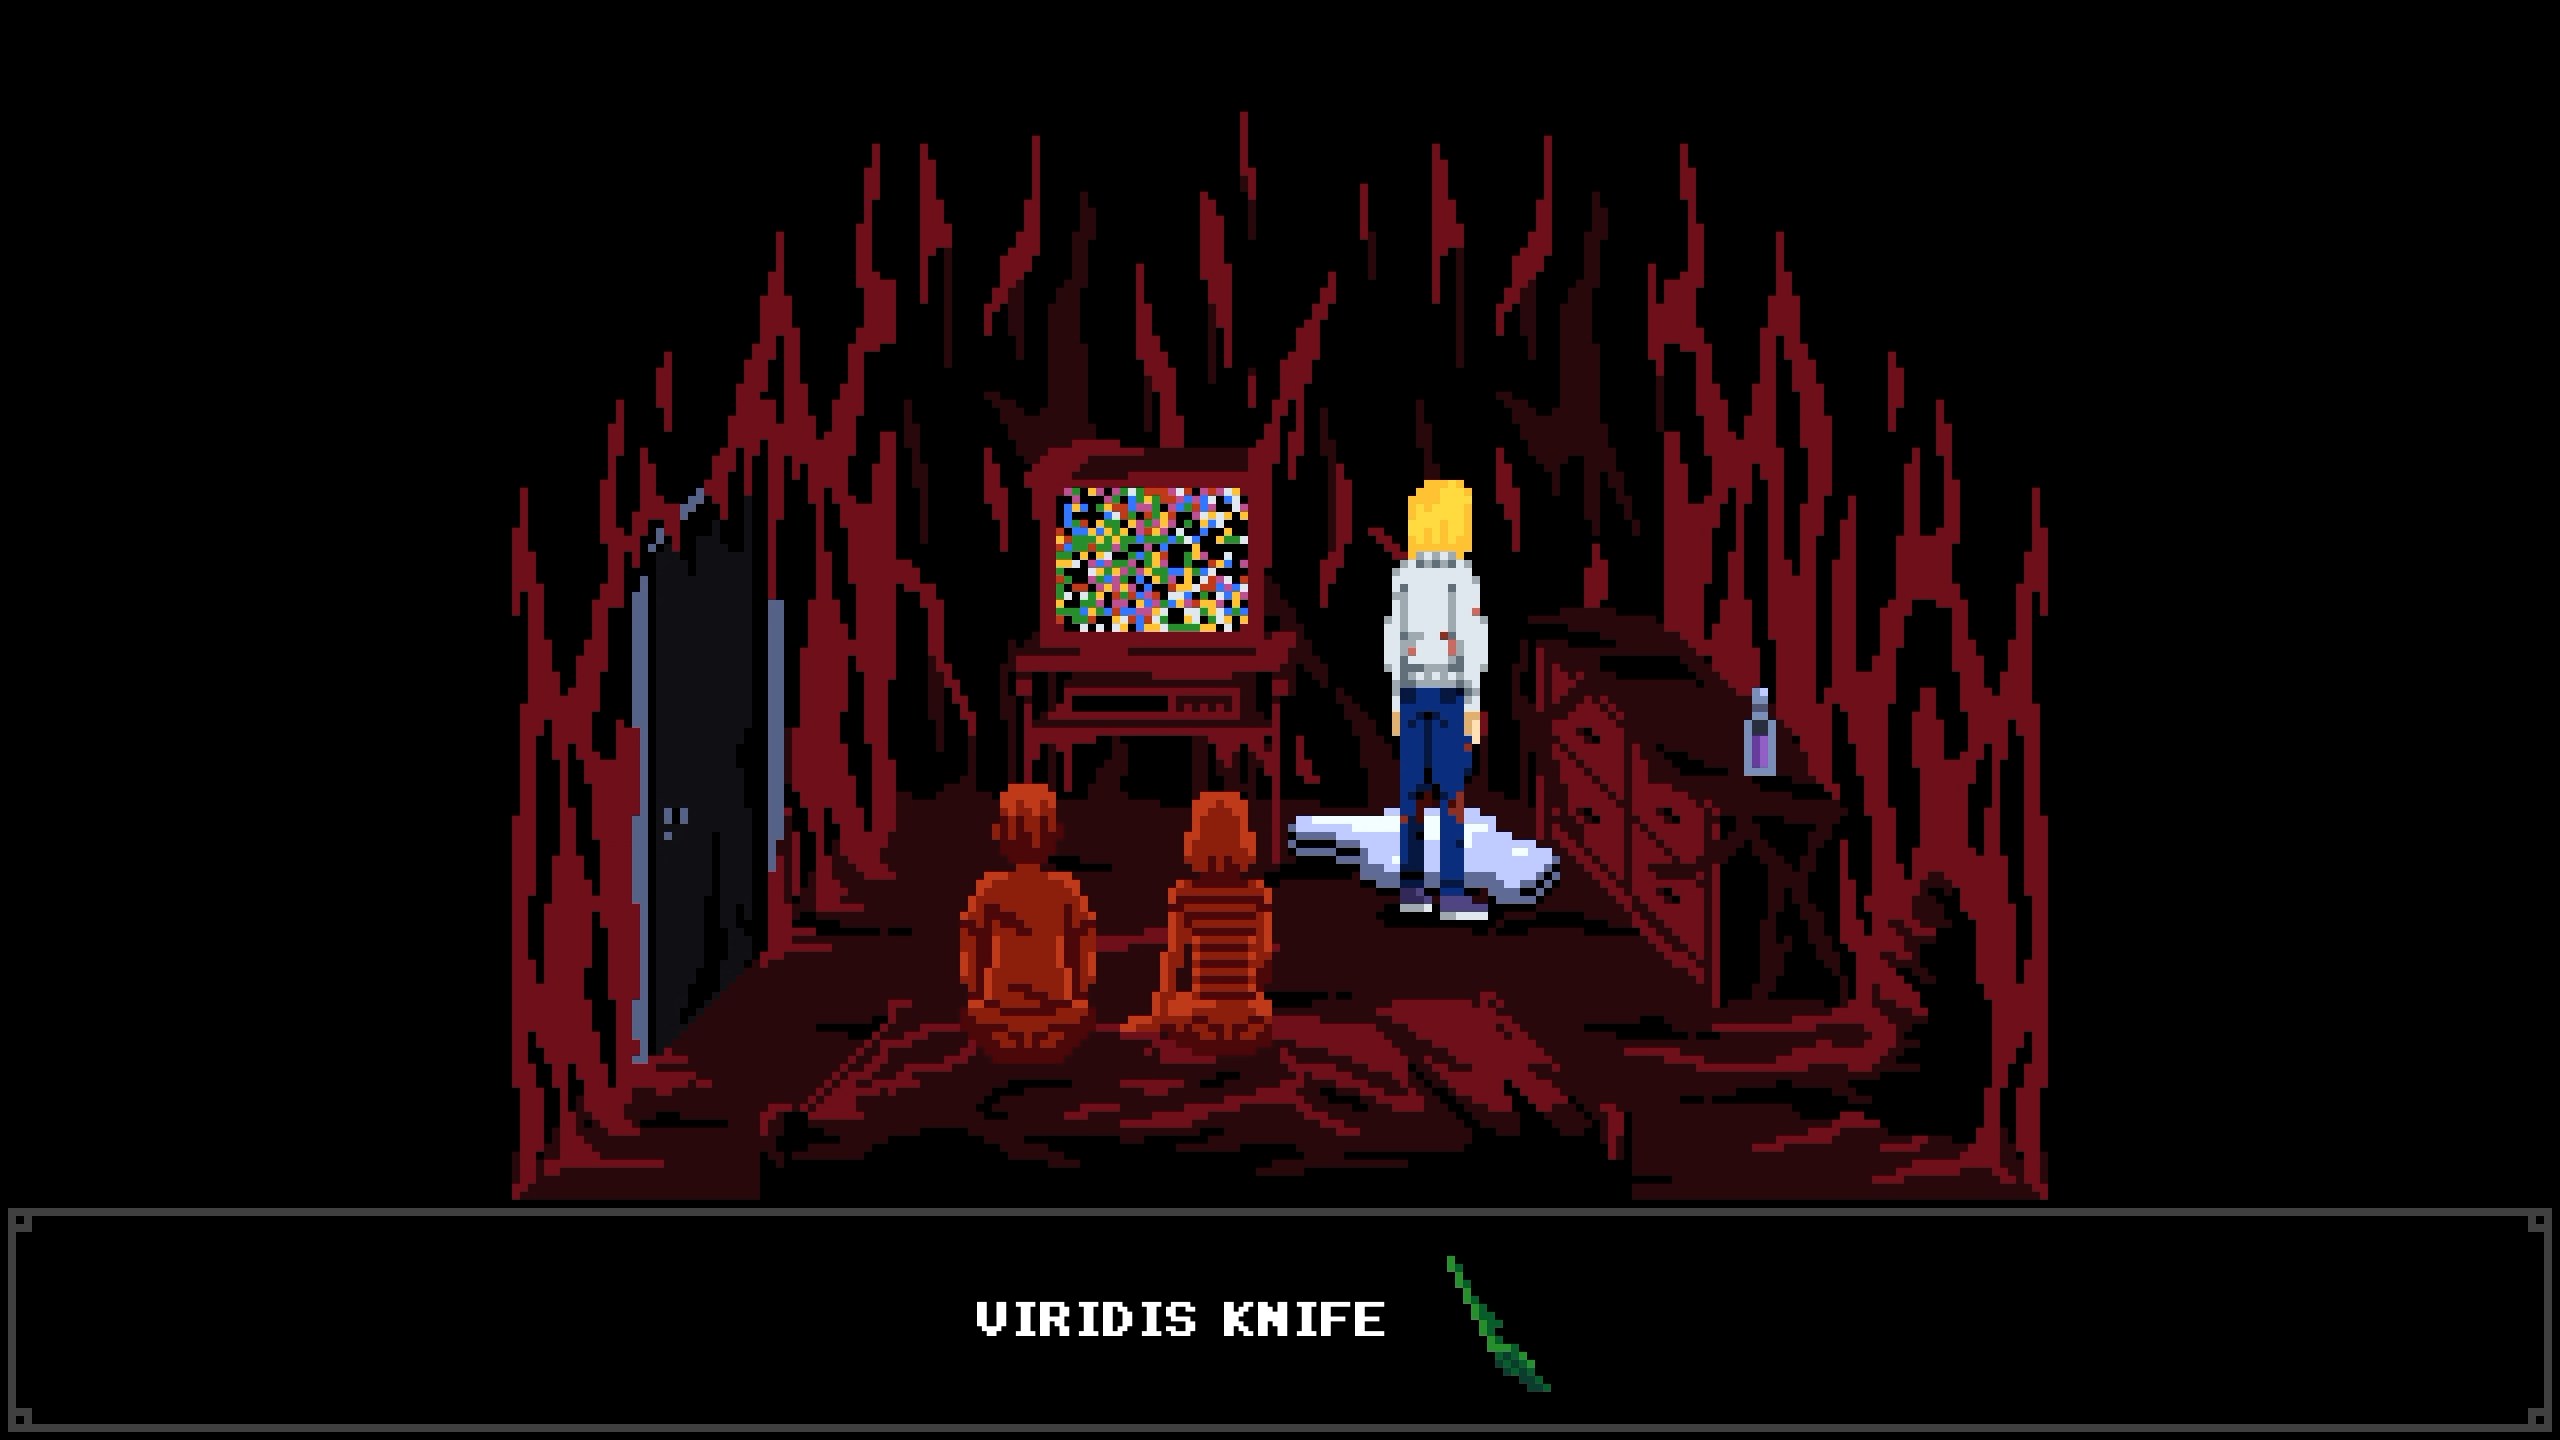
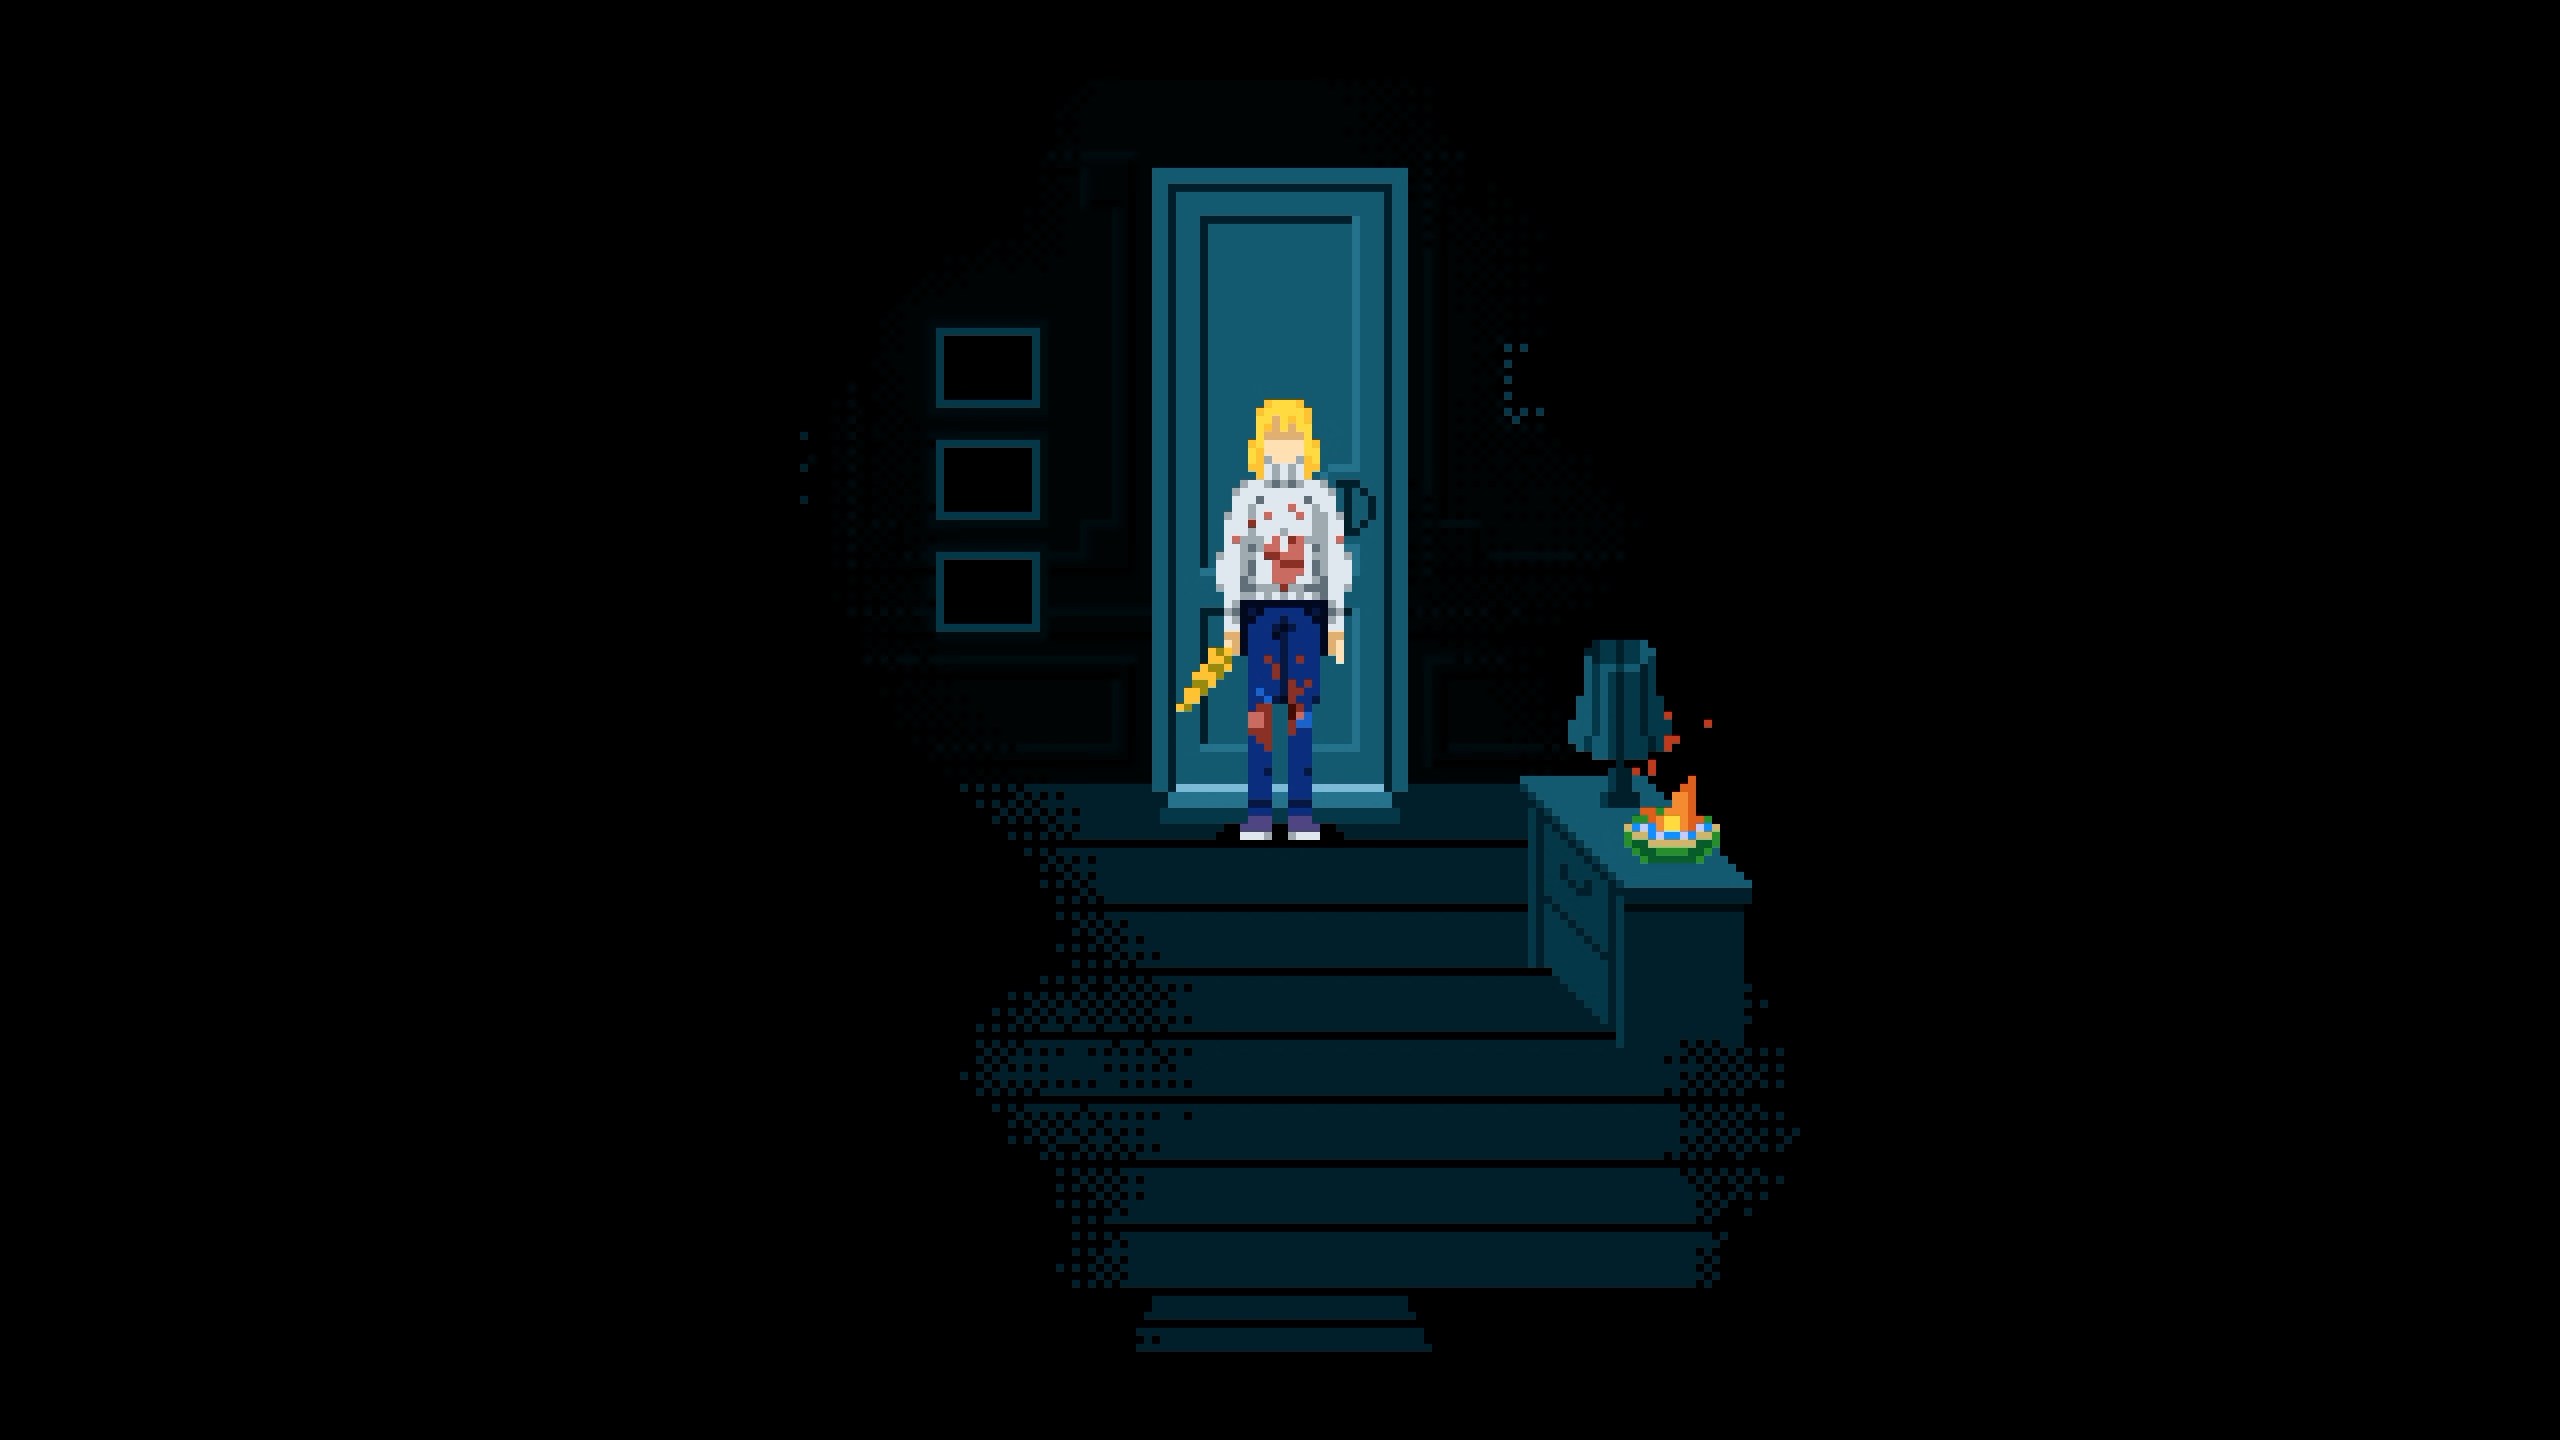
The moonlight guide shows the mercury room and hotel door. Save after the transformation and before killing any Relicta; keep this slot untouched for both main branches.
From here, sparing all Relicta leads toward Lacuna; killing at least one with the Aurifer changes the finale to Hermes. Continue back through the hotel and apartment stairway to the third-floor street and Séptimo Arte. Finish the final encounter to register the ending. Use the endings page for the branch conditions and new-game hidden routes.
Next playthrough: hidden routes start from a new game under the reported unlock requirements. They cannot be added to the end of this save. Use the ending save plan before starting another route.
When a step does not work
Check the exact inventory item, its transformation state and the correct building first. Floors in Ivan's building and the Film School are easy to confuse. Use your Old Book for recorded clues, and identify which version of a room you are visiting before applying an earlier solution.
For the expanded inventory, collectible cutoff and weapon restrictions, use the item reference, achievement checklist and boss guide. The red-bulb guide gives the full darkroom workstation order.
Sources
- Official Puzzle & Boss Guide: opening recipe, A.S. key prerequisites, random puzzles, studio lights and knife progression; developer's pinned link.
- Into Indie Games: apartments, canisters, ritual and Desiderium.
- Gamer Social Club: puzzle-order cross-check.
Checked October 23, 2026. Route checkpoints are condensed; the linked source chapters include additional scene-by-scene illustrations and combat detail.