Picture puzzles
Tenebris Somnia: Picture & Poem Puzzles
Identify the DEVORA poster puzzle or the later photograph-and-poem room, then follow the matching solution instead of the wrong picture guide.
Identify the picture puzzle
| What you see | What you need to do |
|---|---|
| A torn DEVORA poster and six cardboard pieces | Rebuild the poster, then use the Lighter |
| Four poems and four empty photograph positions | Match each poem to its photograph |
| A red lamp, chemicals and a photo enlarger | Develop the film; this is not the poem puzzle |
Rebuild the DEVORA poster
Combine the two Scissor Blades to make Scissors. Search the production-company displays for six pieces you can cut out, then return to the damaged poster in the director's office. Use a Cardboard Piece to open the puzzle.
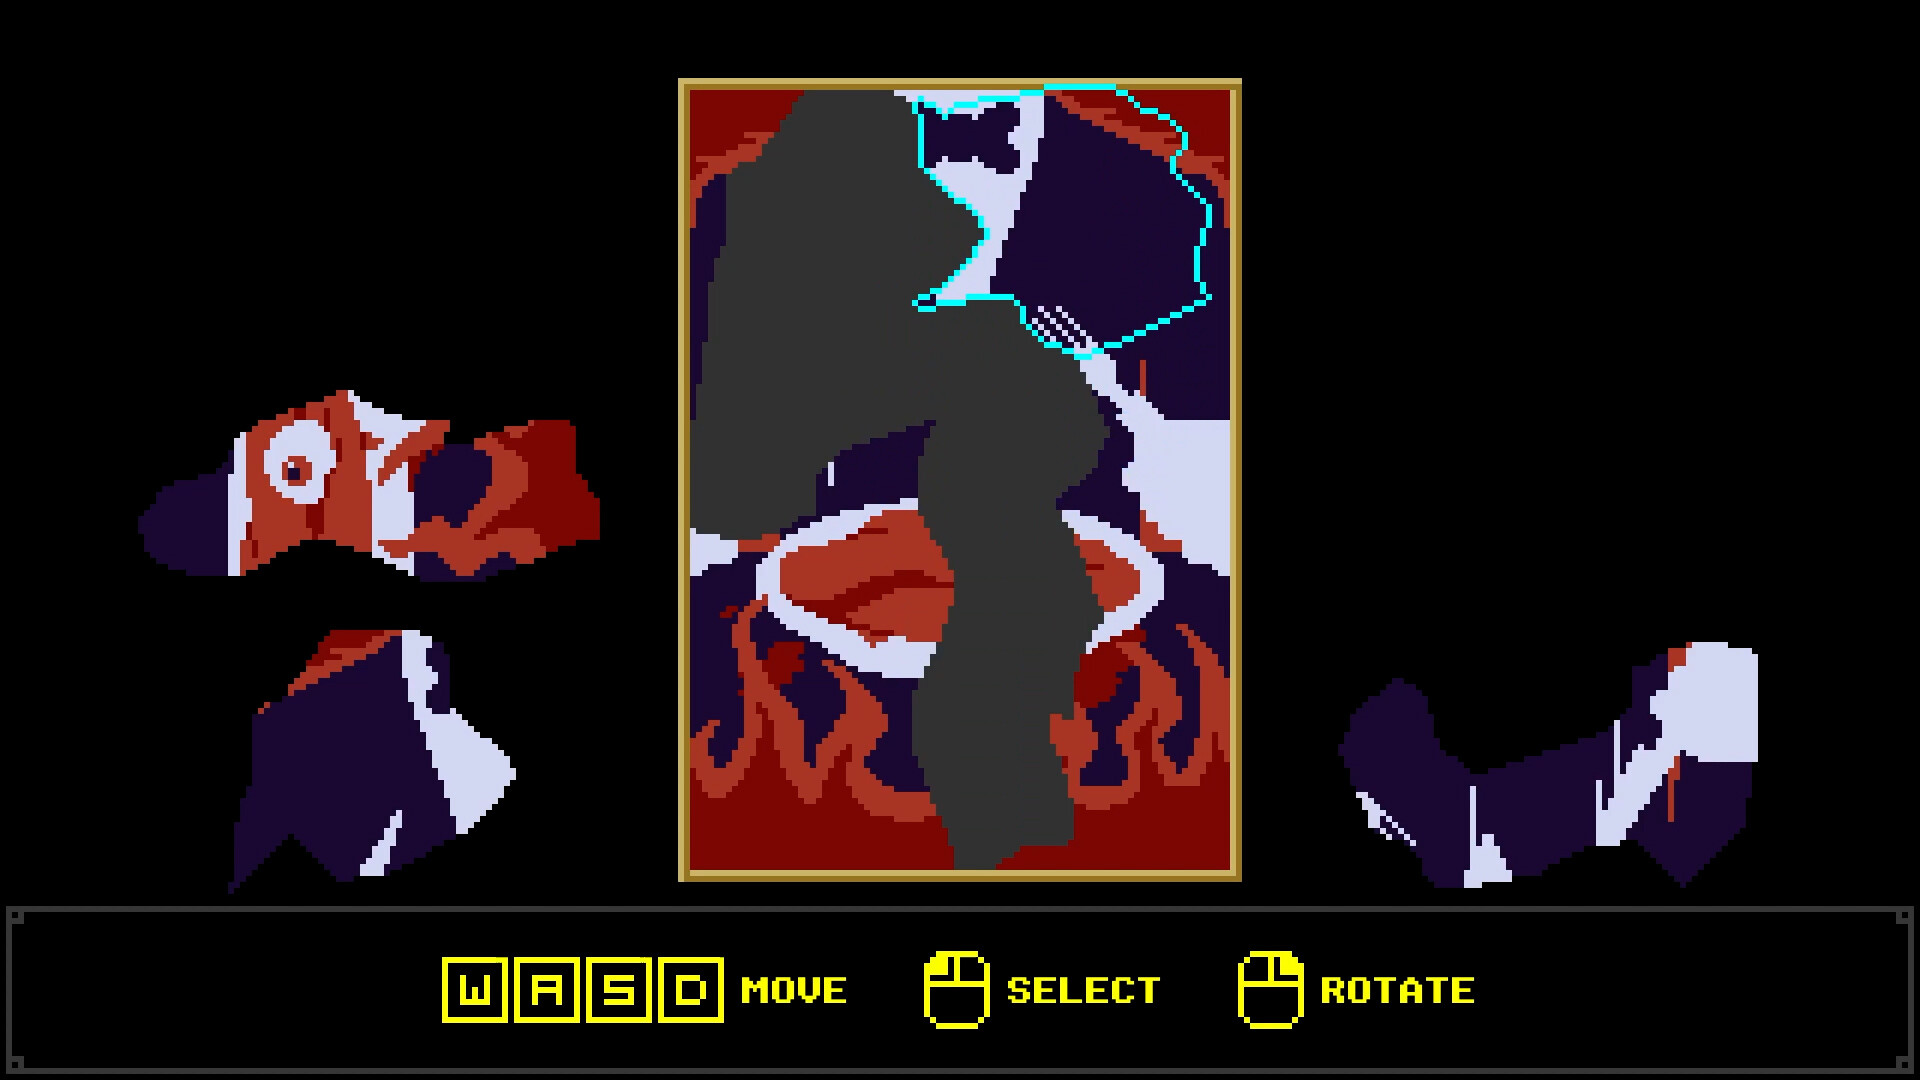
Rotate each piece and use the edges and continuous central figure as guides. Work from recognizable boundaries into the gaps. Once the picture is complete, use the Lighter on the repaired poster to receive the Bathroom Key. The puzzle is not finished merely because the pieces form a picture: the burning step produces the key.
Use that key on the nearby bathroom. The Mop Handle continues the main route; return to the window-side slot in the second-floor candle area.
Match the photographs to the poems
This later puzzle appears in Desiderium. Collect the Photographs from the clothing in the lower room, then return to the wall with poems and empty photograph spaces. Use the photographs at the empty positions.
The poem set can vary. The following lookup uses the opening of the displayed set, followed by the four pictures in order. Read your own opening line before selecting a row.
Reveal the four photograph sequences
| Opening words | First | Second | Third | Fourth |
|---|---|---|---|---|
| He nestles in her hand | Ringed hand | Ear with butterfly earring | Sparkly black dress | Black pearl necklace |
| You're dead | Cross necklace | Feet with moon anklets | Julia in sunglasses | Julia in a black veil |
| I'm dreaming | Mouth | Julia in sunglasses | Ear with butterfly earring | Plain black dress |
| Adorned with the blue of silver | Feet with moon anklets | Sparkly black dress | Julia's closed eyes | Black glove |
These labels describe the pictures, not inventory items to fetch elsewhere. If the displayed text differs in your game language, compare the full clues and photograph details; the English opening is a lookup aid, not a required input.
Common wrong turns
- No scissors: find both blades and combine them before searching for all six cutouts.
- Poster complete but no key: use the Lighter on the repaired poster.
- Photographs will not develop here: the poem wall uses the Photographs set; the film roll and red lamp belong to the darkroom.
- A copied sequence fails: match the poem opening and distinguish the sparkly dress from the plain one.
Still carrying a Photo Roll or Printed Photo? Finish the red bulb and darkroom process before using this later photo-matching solution.
Sources
Source-checked October 23, 2026. The lookup is based on the published puzzle sets, not on a playthrough recorded by this site.